-
The Roles of Professors posted on 03 Mar 2013
This is an assignment I wrote for my "Intro to Engineering" class.
Reflection: Important Roles for Professors
I disagree with three of seven items shown on the list of important roles for professors. Here's what I disagree with and why.
Give you the benefit of the doubt on a borderline grade
I am a student, not a case for charity. If my professor feels I deserve the higher of two grades, fine, I'll take it, and I'll appreciate it. In the end, though, I really don't care what they do. All I value is that my grade represents an objective view of my proficiency in a subject and the effort I put in. If a professor grades hard, that's not an issue with the professor, that's an issue with my proficiency.
Monitor your progress and hold you accountable for your performance
I am a student, I can take care of myself. I don't need a figure of responsibility to hold my hand throughout the learning process. Like I said before, all I ask from my professors is that my grade be representative of my skill in the subject they are teaching.
Nominate you for scholarships or academic awards
I am a student, I have to pay for my own schooling. Applying for scholarship and other excellence-based awards is my job, not my professors'.
Now that I am thoroughly offended by this list, I suppose I might share the four things I do appreciate from a professor. Provide you with invaluable one-on-one instruction. Give you academic advising, career guidance,
and personal advice.Help you find a summer job in industry and evenhire you on their research grants. Serve as a valuable reference when you apply for jobs, either while you are a student or after you graduate. Perhaps I was wrong to claim I agreed with four of the items. Two and two halves is more accurate.
Studying Engineering, by Raymond B. Landis has some helpful content and useful bits of common sense - this is not one of them.
-
Listing a Product on Tindie posted on 16 Feb 2013
Late last month, I designed a simple micro USB breakout board on Upverter. I would have bought Sparkfun's breakout, but it does not expose the ID pin - which I needed. I ordered the tiny PCB from OSH Park, but the design is available here for anyone who wants to have it built themselves. Note that you'll need to rename the gerbers from Upverter's naming scheme to OSH Park's.
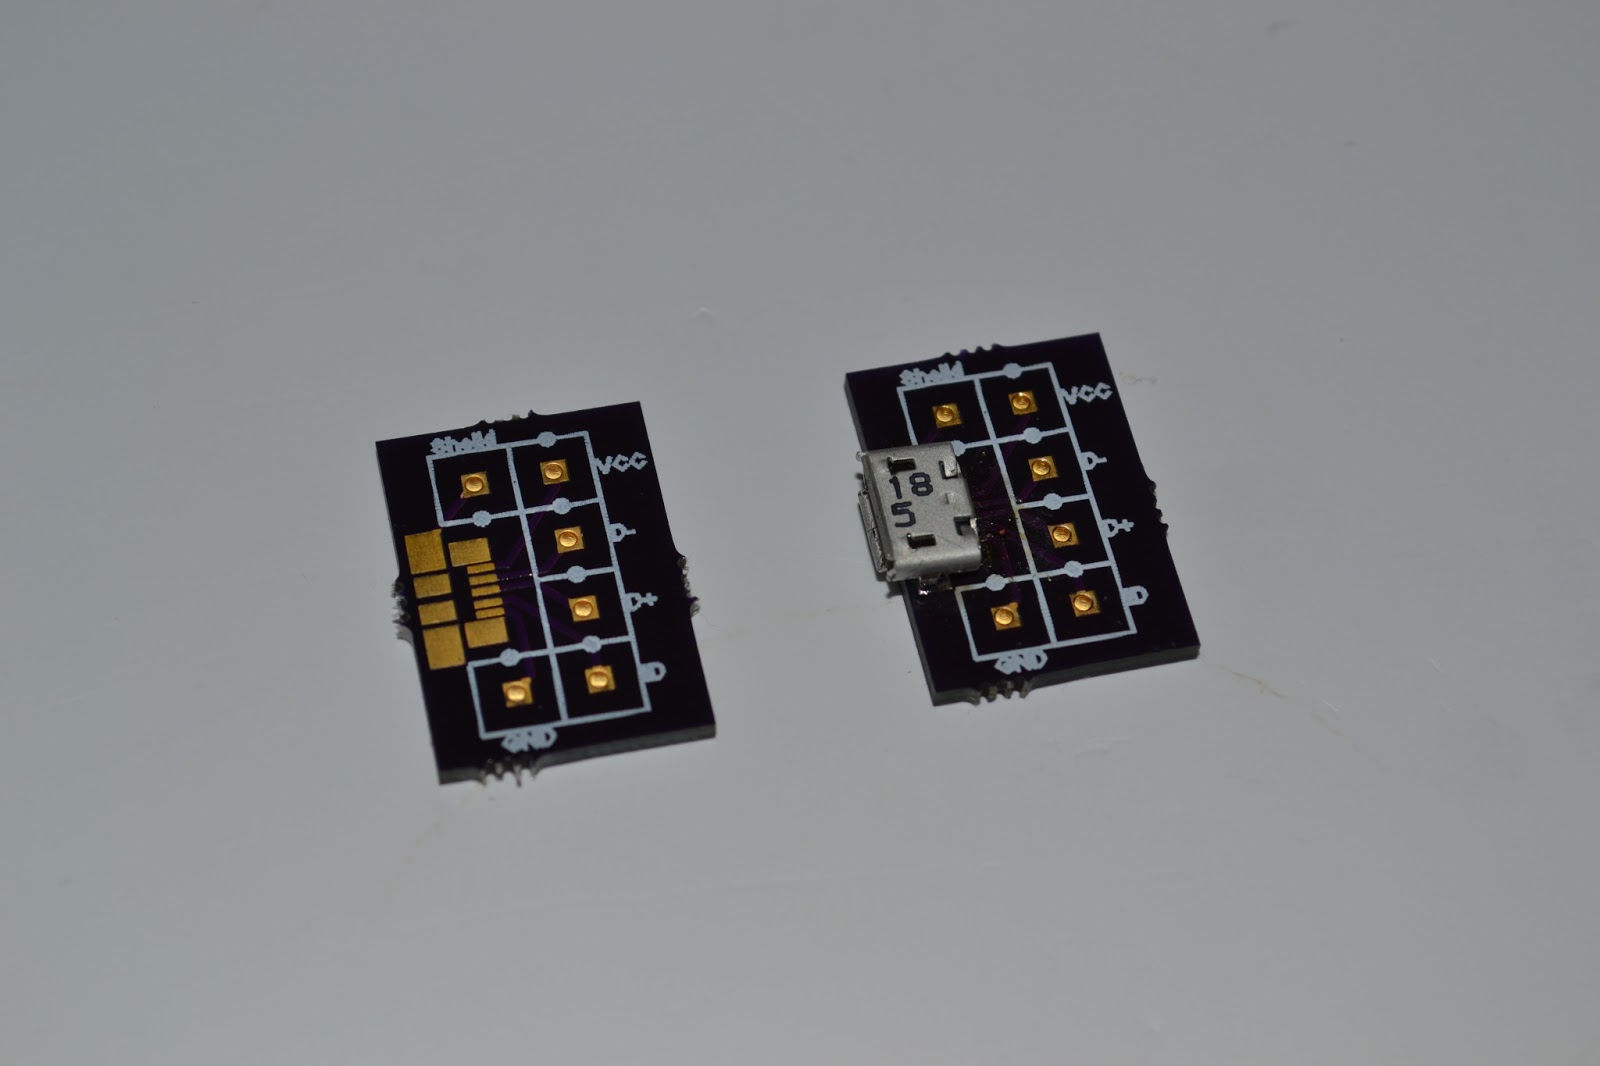
Since I have a number of micro USB connectors and some extra boards, I decided to list the board on Tindie. If you happen to need a Micro USB connector with all of the pins broken out, you know where to get it! Since you're awesome and read this post, here's a discount code for $1.00 off: ADF6EE7. Cheers!
-
More Online EDA Thoughts - Upverter/Circuits.IO posted on 30 Jan 2013
Some little annoyances I came up with as I was drawing out a simple Micro USB breakout board.
Upverter
- A layout measurement tool would help while drawing part footprints
- Can't set default part prefix when creating/editing a part
- The part update notification is great, but could use some ironing
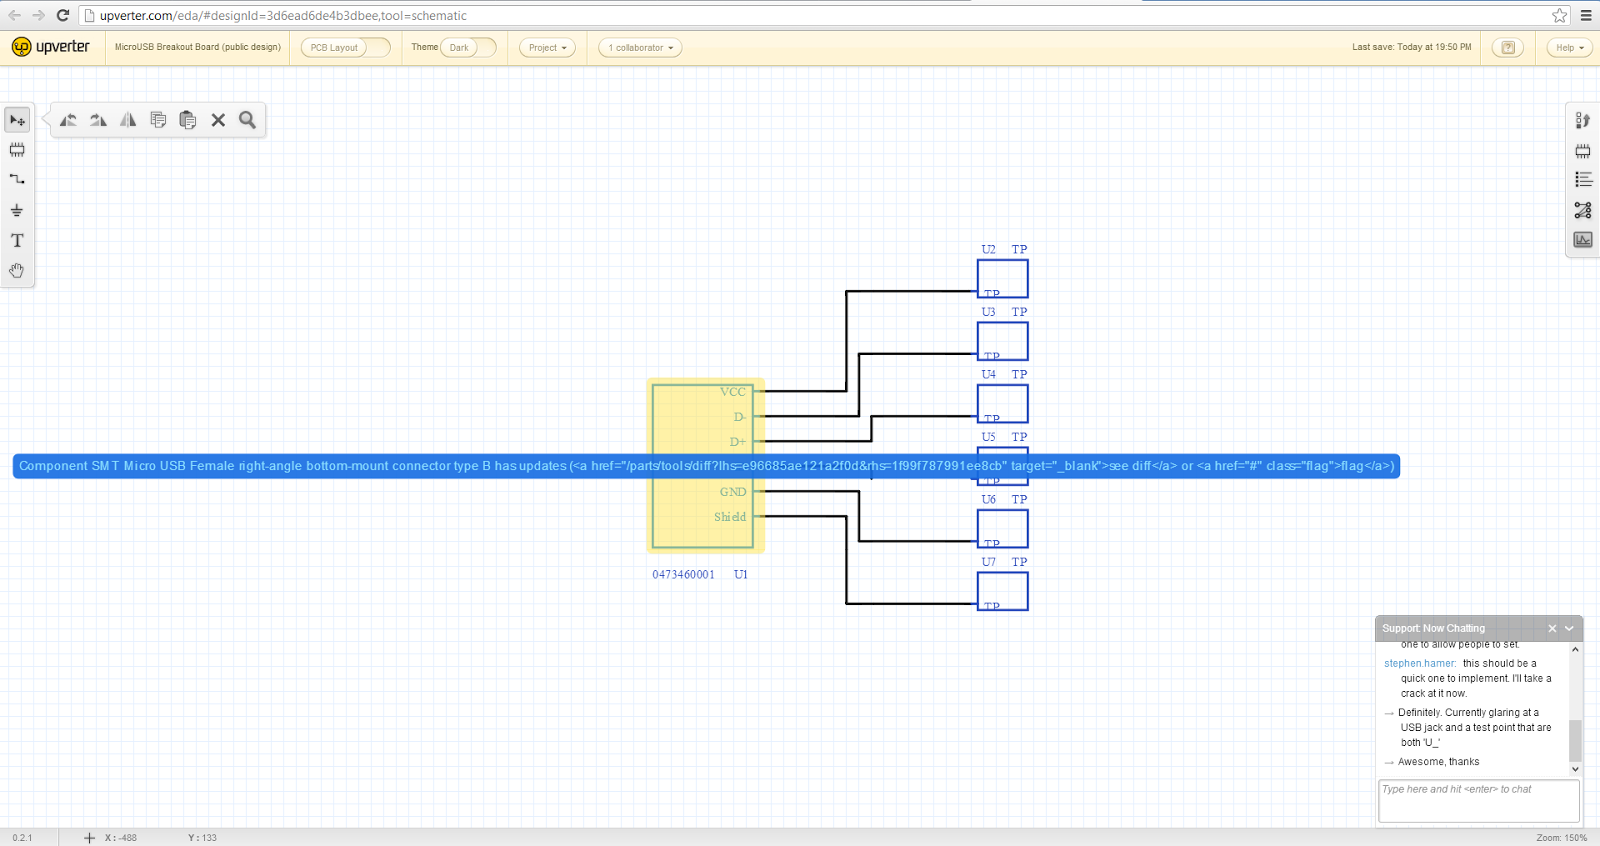
- Footprint rotation is in radians? Seriously?
- No way to edit text in layout
- Can't put text on a copper layer
- Tooltips can really get in your way (a problem when you're zoomed in on a layout)
- Orders allow negative qty all the way up until order submission
- Credit card details are saved without any permission (not okay!)
- What's with the project urls? http://upverter.com/GeorgeHahn/3d6ead6de4b3dbee/MicroUSB-Breakout-Board/
Circuits.IO
- Footprint creation is
clunkyterrifying (bad enough I didn't even try to finish making my part). - On the schematic symbol editor (http://www.circuits.io/schematic_symbols/1202/edit), the user as asked to enter a 'coma-separated list' comma.
- Schematic symbol page shows a hex number for the user:
#<User:0x00000009b39c60>
-
Ugly Duck Model Binding in Nancy posted on 27 Jan 2013
It's been a while since I last wrote about my pet web development project. I have made a couple large changes - most importantly, I am now using RavenDB. The second big change is that I have begun dual booting Windows 8 as my development system. While running Windows in a VM is enough to get into Visual Studio, the little pauses began to drive me crazy. I went out and bought a 240 GB Corsair Force GT and couldn't be happier.
Onto my main reason for writing this post - data binding!
I ran into an issue when attempting to bind a HTTP POST to a complex type. The type I was attempting to bind to was QuestionModel, as defined below.
public class QuestionModel
{
 public string Question;
 public List<AnswerModel> Answers;
 public int CorrectAnswer;
 public string Section;
}

public class AnswerModel
{
 public int Id;
 public ChemicalModel ChemicalModel;
}

public class ChemicalModel
{
 public string SMILESString;
}
Binding to the base QuestionModel variables was no problem, this.Bind
() worked great. The problem came about in binding to the List of AnswerModels - namely, in that binding simply didn't happen. After a lot of searching, I came across a StackOverflow post regarding binding to types with complex children. It looks like the proper way to handle this situation is to write a custom model binder. One alternative I did not investigate was POSTing a JSON object.Rather than do things the right way, I chose to apply some ugly duck tape.
Post["/add"] = o =>
 {
  // Doesn't bind much
  var question = this.Bind<QuestionModel>();

  // Bind the rest
  for (int i = 0; i < 20; i++) // Bind a max of 20 children
  {
   bool hitSomething = false;
   if (Request.Form["Answers[" + i + "].AnswerString"] != null) // Bind the AnswerString property
   {
    while (question.Answers.Count <= i) // If the index doesn't exist yet, create it and every index before
     question.Answers.Add(new AnswerModel());
    question.Answers[i].AnswerString = Request.Form["Answers[" + i + "].AnswerString"];
    hitSomething = true;
   }

   if (Request.Form["Answers[" + i + "].SMILESString"] != null) // Bind the SMILESString property
   {
    while (question.Answers.Count < i - 1)
     question.Answers.Add(new AnswerModel());
    question.Answers[i].ChemicalModel =
     new ChemicalModel(Request.Form["Answers[" + i + "].SMILESString"]);
    hitSomething = true;
   }
   if (!hitSomething)
    break;
  }

  DocumentSession.Store(question);
  DocumentSession.SaveChanges();

  Model.question = question;
  return View["ShowQuestion", Model];
 };
This is going to come back to bite me shortly, but it is adequate for the time being. I suppose the moral of the story today is that if you find yourself needing a model binder that is capable of binding to array-indexed names, bother me - hopefully I'll have written it by the time you read this.
-
Circuits.IO vs Upverter posted on 19 Jan 2013

There are currently two big players in the online EDA space. Let's put them side by side and see which one comes out on top!
General Features
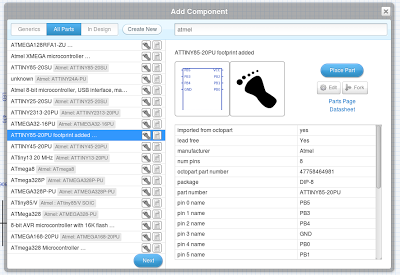
Upverter gives detailed part information during selection
Upverter
- Octopart integration
- Bill of materials with pricing through Octopart
- GitHub integration
- Open format files - export to KiCad, gEDA, Fritzing, Eagle, and more.
- Circuit import
- All changes are recorded
- Custom comment system
- Said to have simulation capability; was unable to get it to work
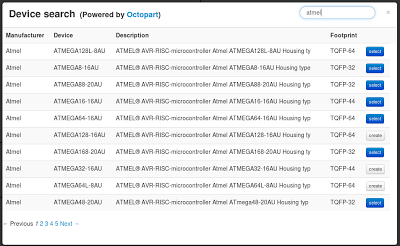
Circuits.io gives a brief summary of each part
Circuits.io
- Octopart integration
- Bill of materials with pricing through Octopart
- Excellent tutorial videos
- Comments powered by DISQUS
Winner: Upverter
While both applications show part information from Octopart, Upverter's implementation is much more seamless. There is rarely a time where one must visit the Octopart website for additional information. Combined with their powerful open source import/export library, Upverter easily takes the crown for general features. Both apps have good BOM (bill of materials) and commenting implementations. It is worth noting that Circuit.io's comments are powered by DISQUS, and - as usual - they feel like glued on third party controls.
Schematic Capture

Circuit.io's part alignment feature
Circuits.io
- Innovative part alignment feature
- Generic parts
- Can't manually place wires
- Can't graphically place signal lines
- Cannot change component reference description (particularly annoying because part prefixes cannot be changed without creating a new device)
- No visible grid
- Parts are zero indexed with no way to change
Upverter
- Multiple selection
- Visible grid
- Can edit reference descriptions
- Substandard search tool
Winner: Upverter
With multiple part selection and a visible grid, drawing a circuit in Upverter feels identical to drawing a circuit in a desktop EDA application. Circuits.io departs from the feel of traditional EDA applications, but does so in a very intuitive way. I was particularly impressed with their part alignment tool - something I've enjoyed in GUI designers in the past. The problem with Circuit.io's schematic capture is that expected features like part editing were nowhere to be found. Another big pet peeve of mine was that signal wires could not be moved manually. While I love the idea of having one less thing to worry about, I quickly found myself tweaking the placement of parts just to make the wires look less tangled. Both tools have a lot of potential, but they are going to need some features before they will be usable in larger designs - for example, neither has a way to define a bus with multiple signal wires.
Circuit Board Layout
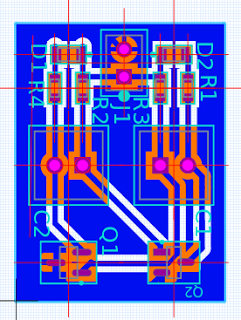
Test layout from Upverter
Upverter
- Multiple selection
- Visible grid w/ snapping
- Custom grid sizes
- Custom vias
- Doesn't give a list of premade packages for all parts
- Polyfills are complicated to use (I had to ask Upverter support how to use them. Apparently this tool was launched recently, so we can expect improvements soon.)
- Had some trouble with generic parts - could not add a footprint for the built-in BJTs
- Cannot restore deleted reference descriptor text
- Added text size cannot be changed
- Part alignment marks are visually intrusive
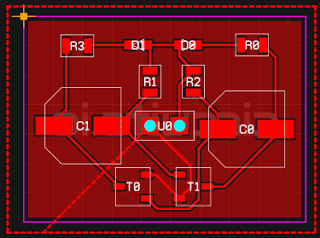
Test layout from Circuits.io
Circuits.io
- Excellent part alignment tool
- Polyfills are easy to create and are awesome by default
- Gives a list of available packages for all parts
- Keeps all text facing the same direction
- Circuit board outline can be dragged around Test layout from Circuits.io
- Initial rat's nest creation is very tedious - parts are stacked on top of each other and can be hard to select (and easy to create traces when attempting to drag)
- No apparent way to add text labels
- Traces are hard to delete (select trace, press escape, press delete)
- Dragging components attempts to keep traces intact. Cute, but often painful.
- Trace widths cannot be changed on the fly
- No way to view net names
Winner: Circuits.io
Circuits.io has a clear lead in circuit board layout. Their friendly part alignment tool is present, along with an intuitive implementation of polyfills (for ground planes, etc). The most glaring issue with both tools was trace placement - traces are universally troublesome to place, move, and tear up. Circuits.io was slightly worse in this regard - to tear up a trace, one must select it, press ESC to cancel drawing a new trace, and then press delete. To be competitive with desktop based layout tools, both websites will need significant work in this area.
Platform
Circuits.io
- Collaboration
- Funding
- Sharing
- Manufacturing (PCBs only)
Upverter
- Collaboration
- Sharing
- Manufacturing (PCBs only)
Winner: Circuits.io
This is a category where web applications really start to show their power. With collaboration and sharing built in from the start, both websites are natural choices for open source hardware. Circuits.io has an advantage in their choice of business model - they are building a manufacturing and funding platform that will enable hobbyists and help fund further development. On the other hand, Upverter's business model is largely centered around people and businesses paying for private design slots and simulation CPU cycles. While their tool is passable for hobbyist use, they are far from a state where they can compete with desktop based tools. Upverter also provides PCB manufacturing facilities, but it feels like a second class feature.
Overall Winner: Circuits.io
Both tools are equally usable and both have their share of annoyances and shortcomings. While it is hard to pick one based on features alone, Circuits.io is an easy choice when the overall platform is considered. Circuits.io currently has a more solid business model than Upverter. Even so, that could change overnight if, for example, Upverter joined up with Tindie as a funding and commerce platform.
To get familiar with each application, I drew a simple 2 transistor LED blinker circuit. I kept the circuit layout single sided. Due to the design of the circuit, a trace must either cross between leads on a component or move to a second signal plane. In both layouts, I routed this trace between the pins of a SOT23 transistor - this goes against best practices, so I would warn against manufacture of either design.
Shout out to CircuitLab for having an excellent web based schematic capture and simulation application.
-
MoonJar Concept posted on 14 Jan 2013
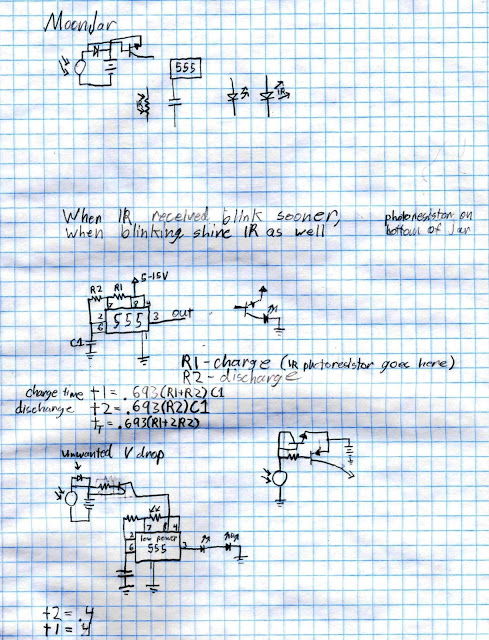
I drew this out a few years ago. The design is all wrong, but I like the concept.
-
Giving away an IBM 5150 posted on 04 Jan 2013
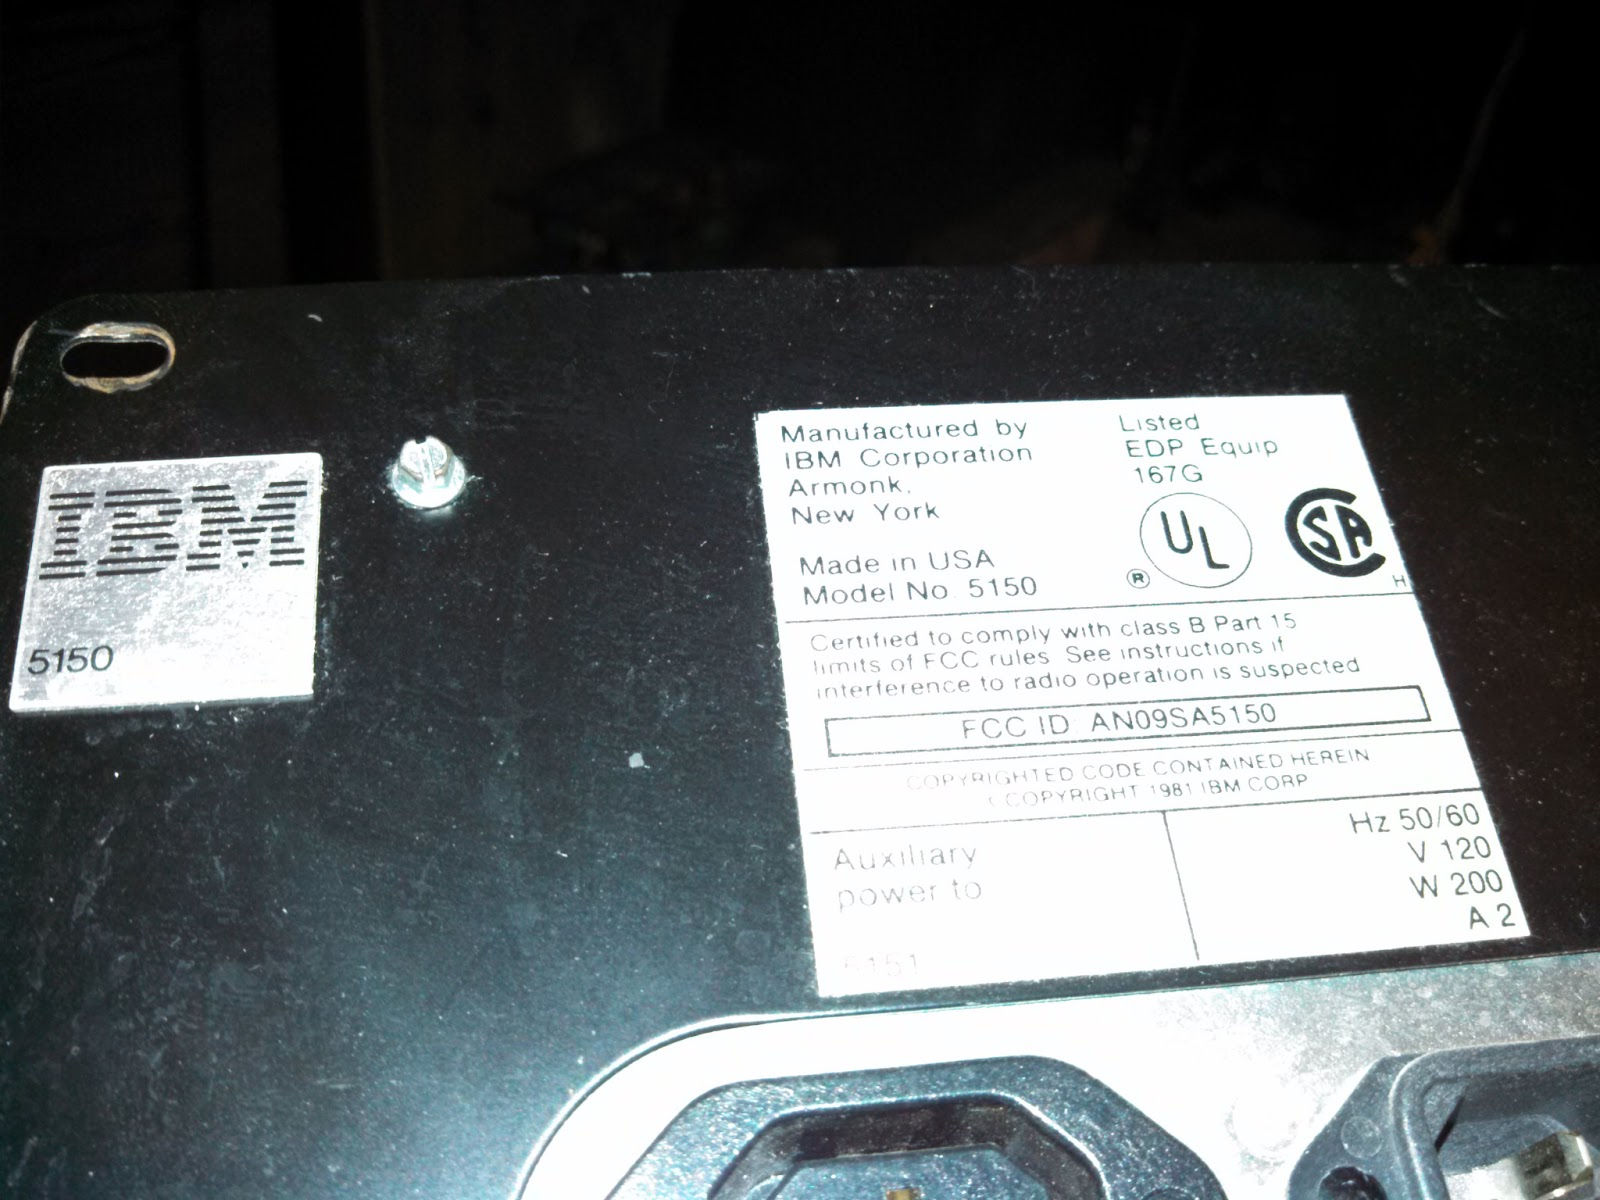
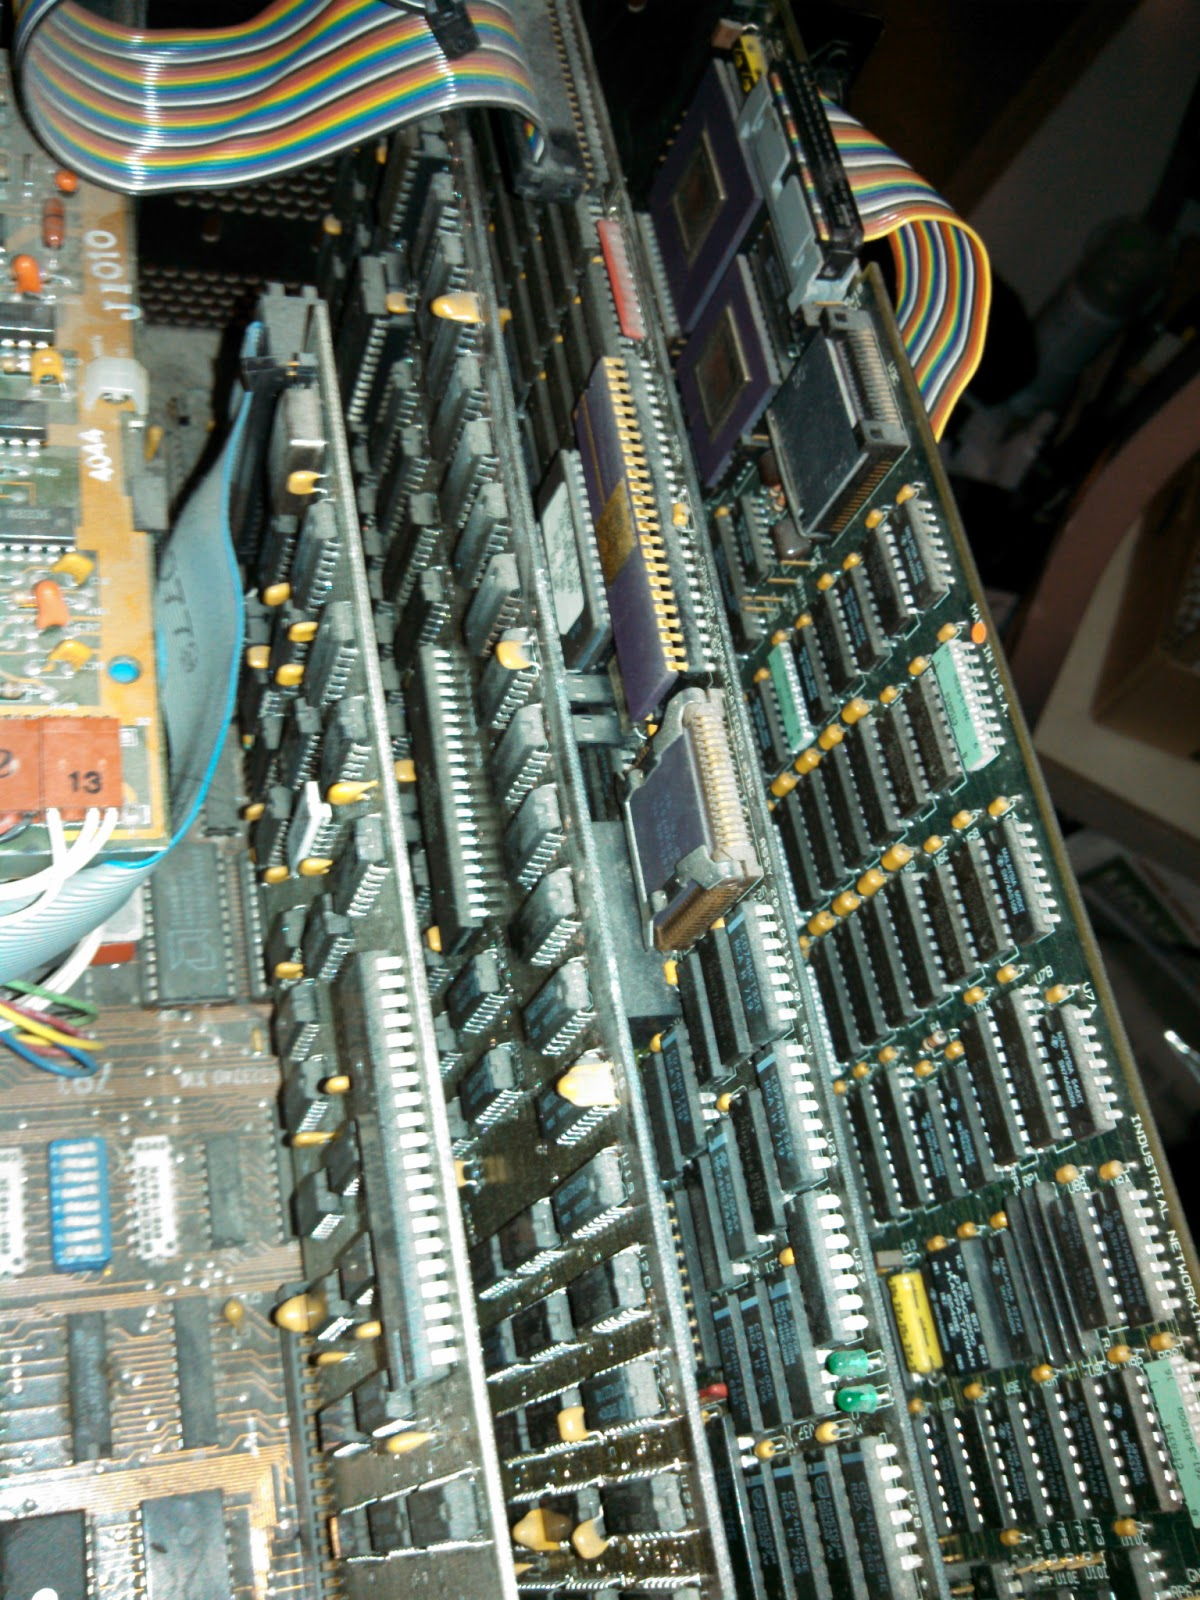
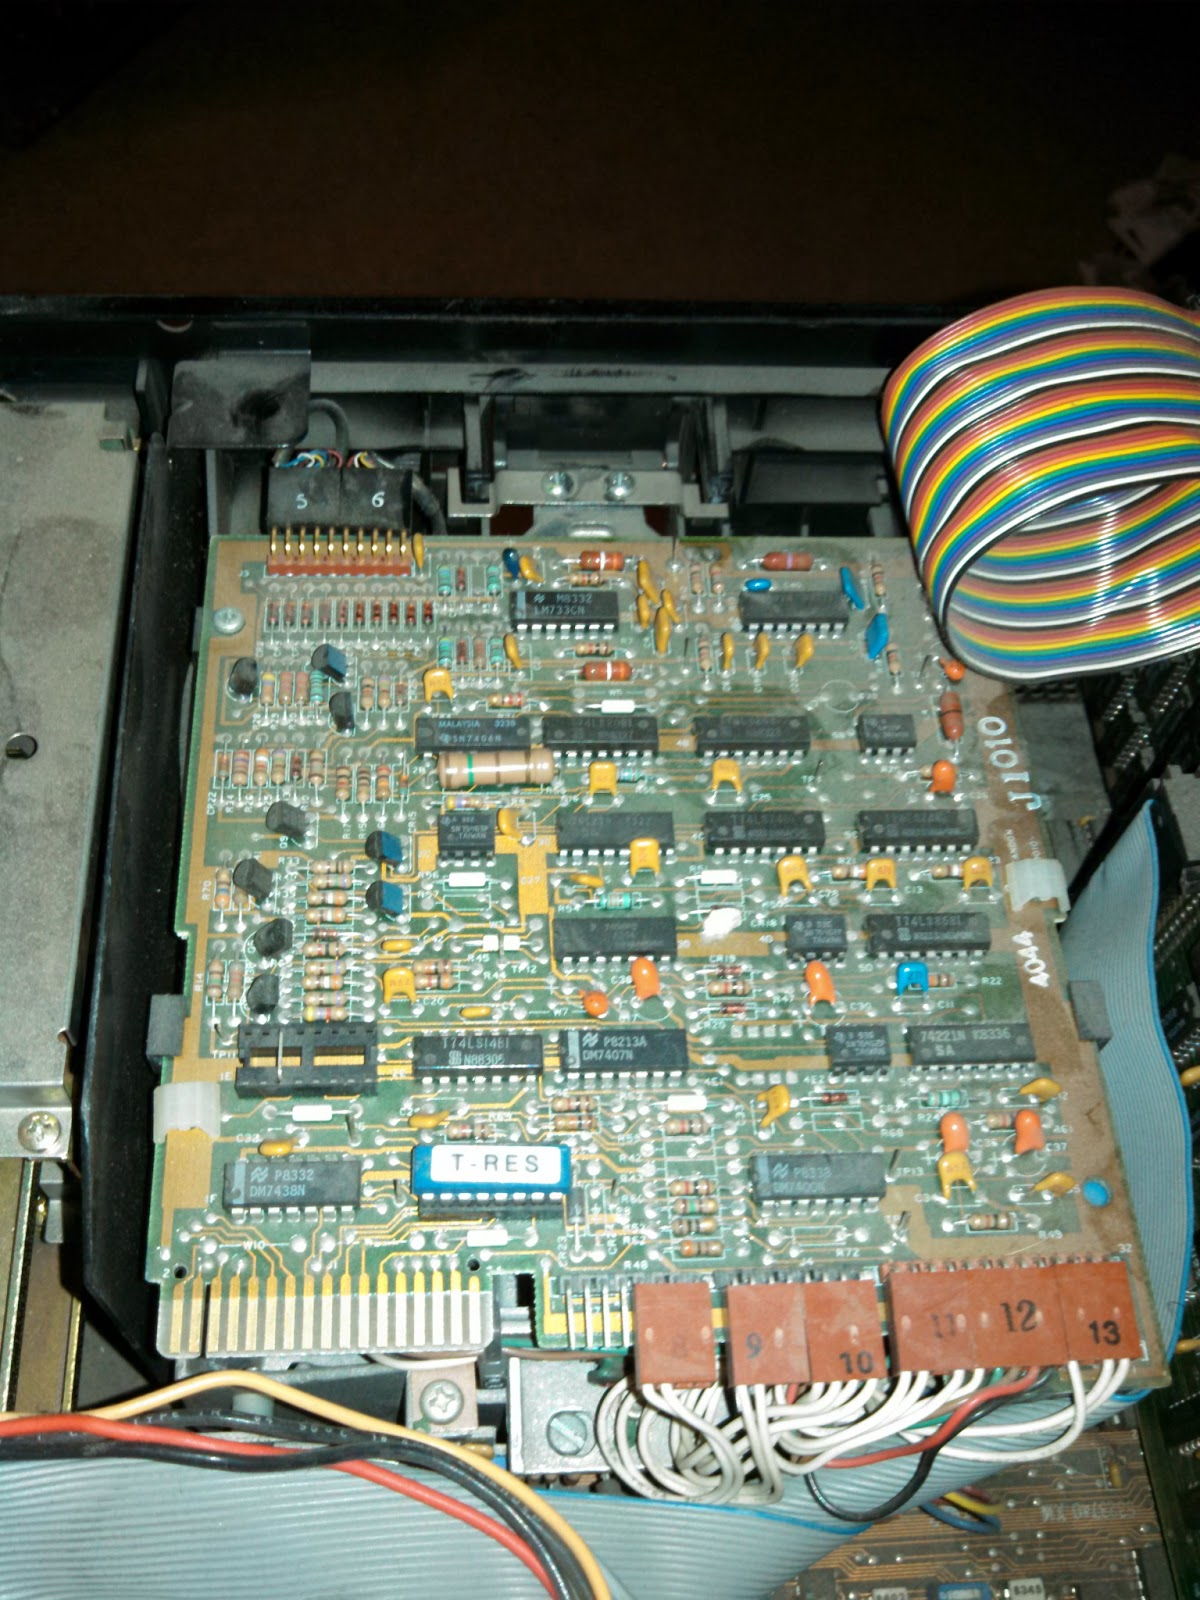
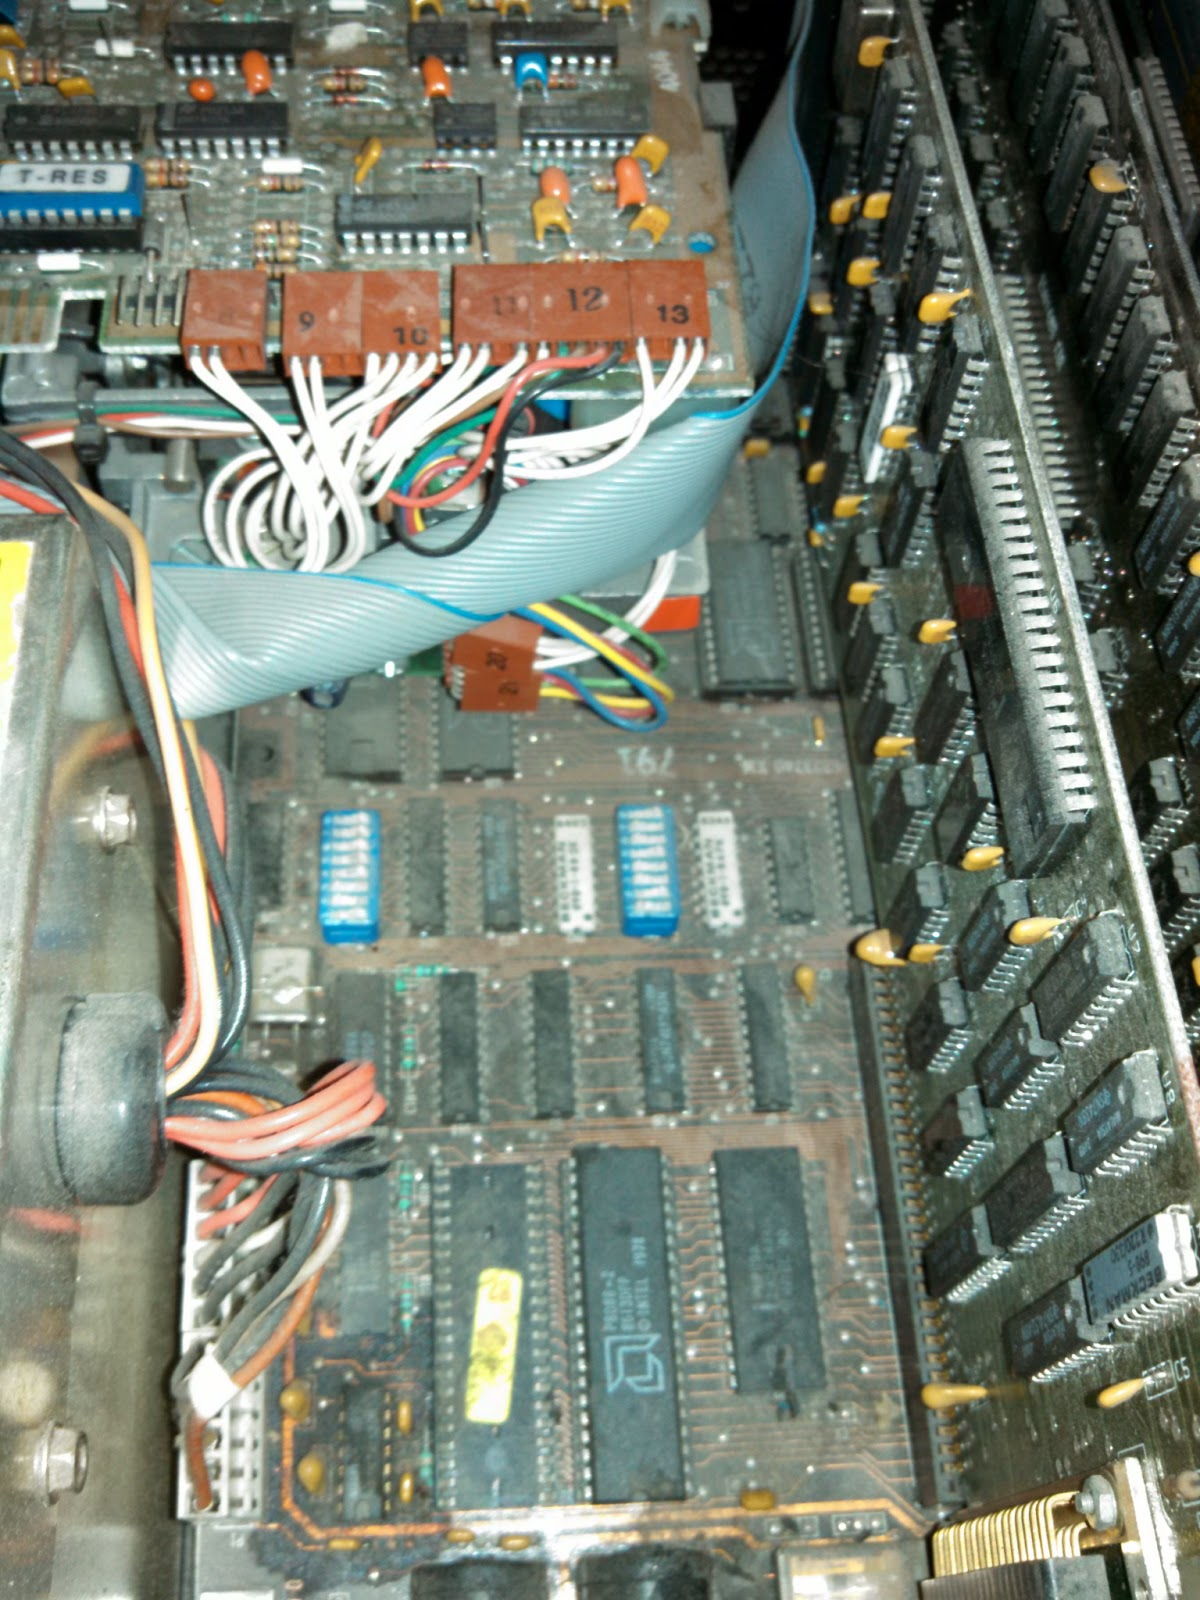
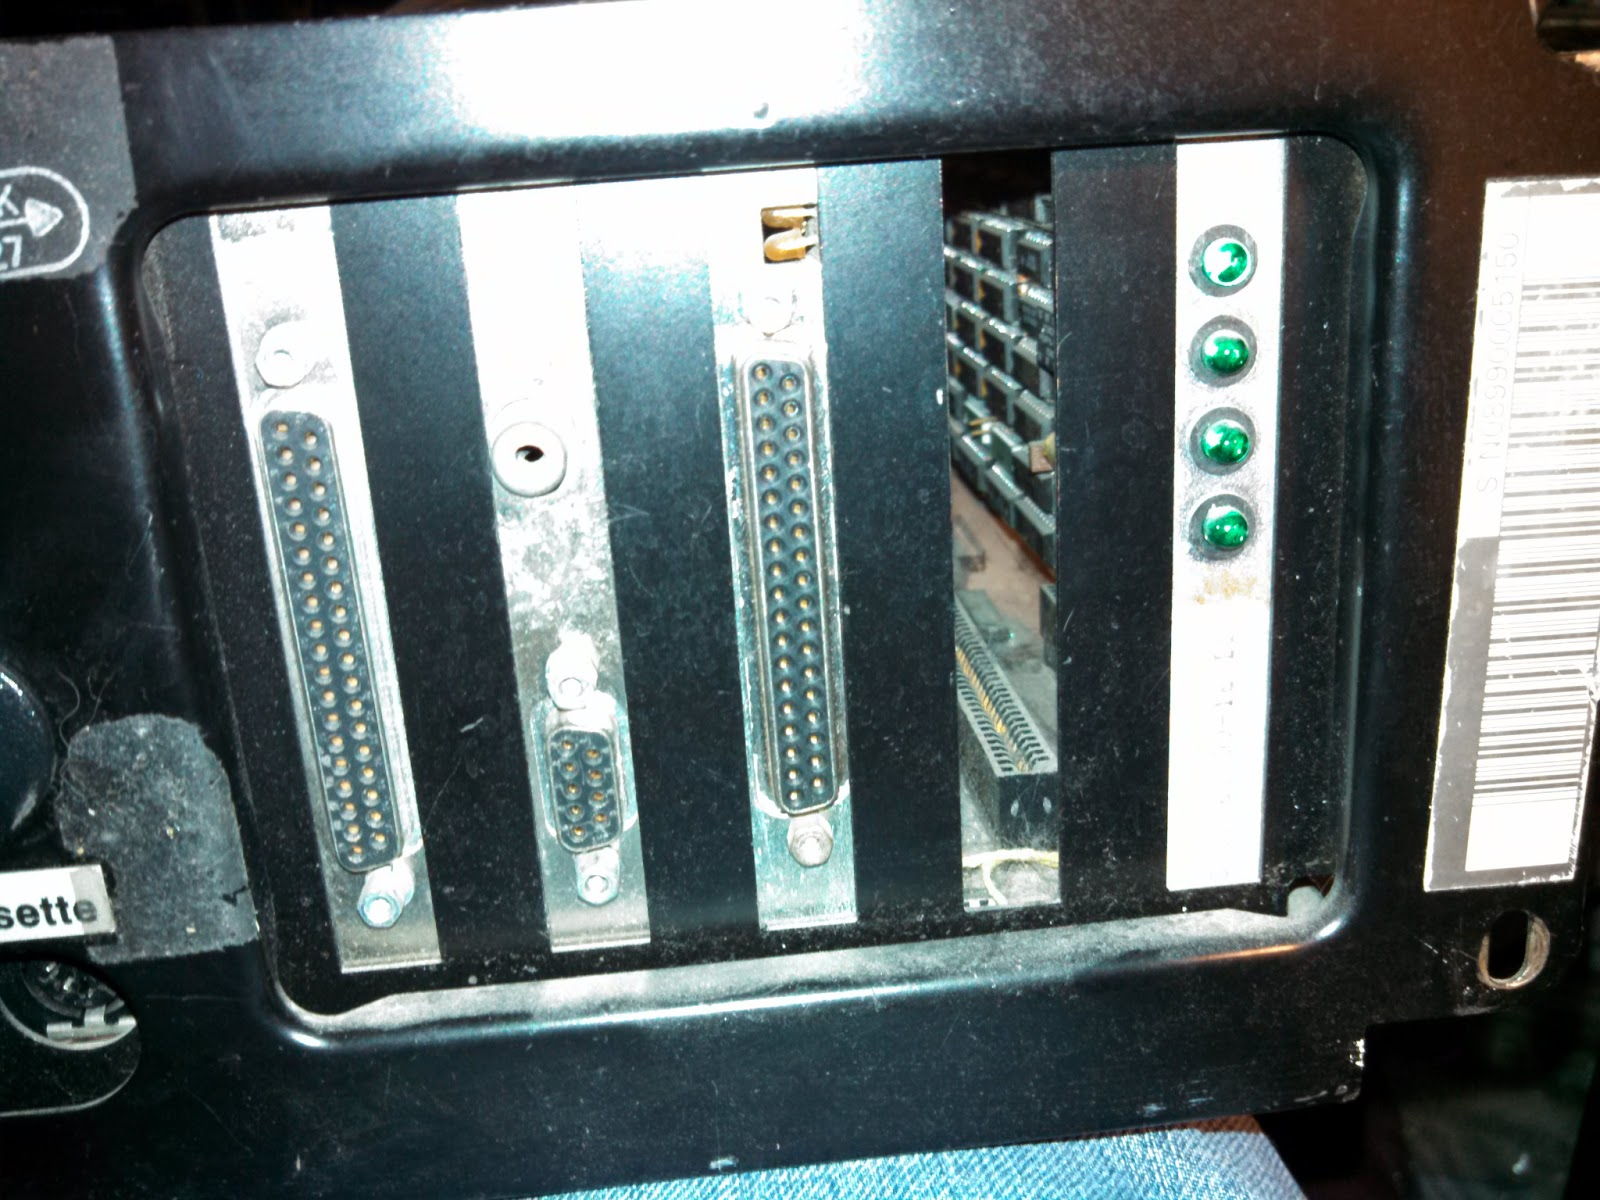
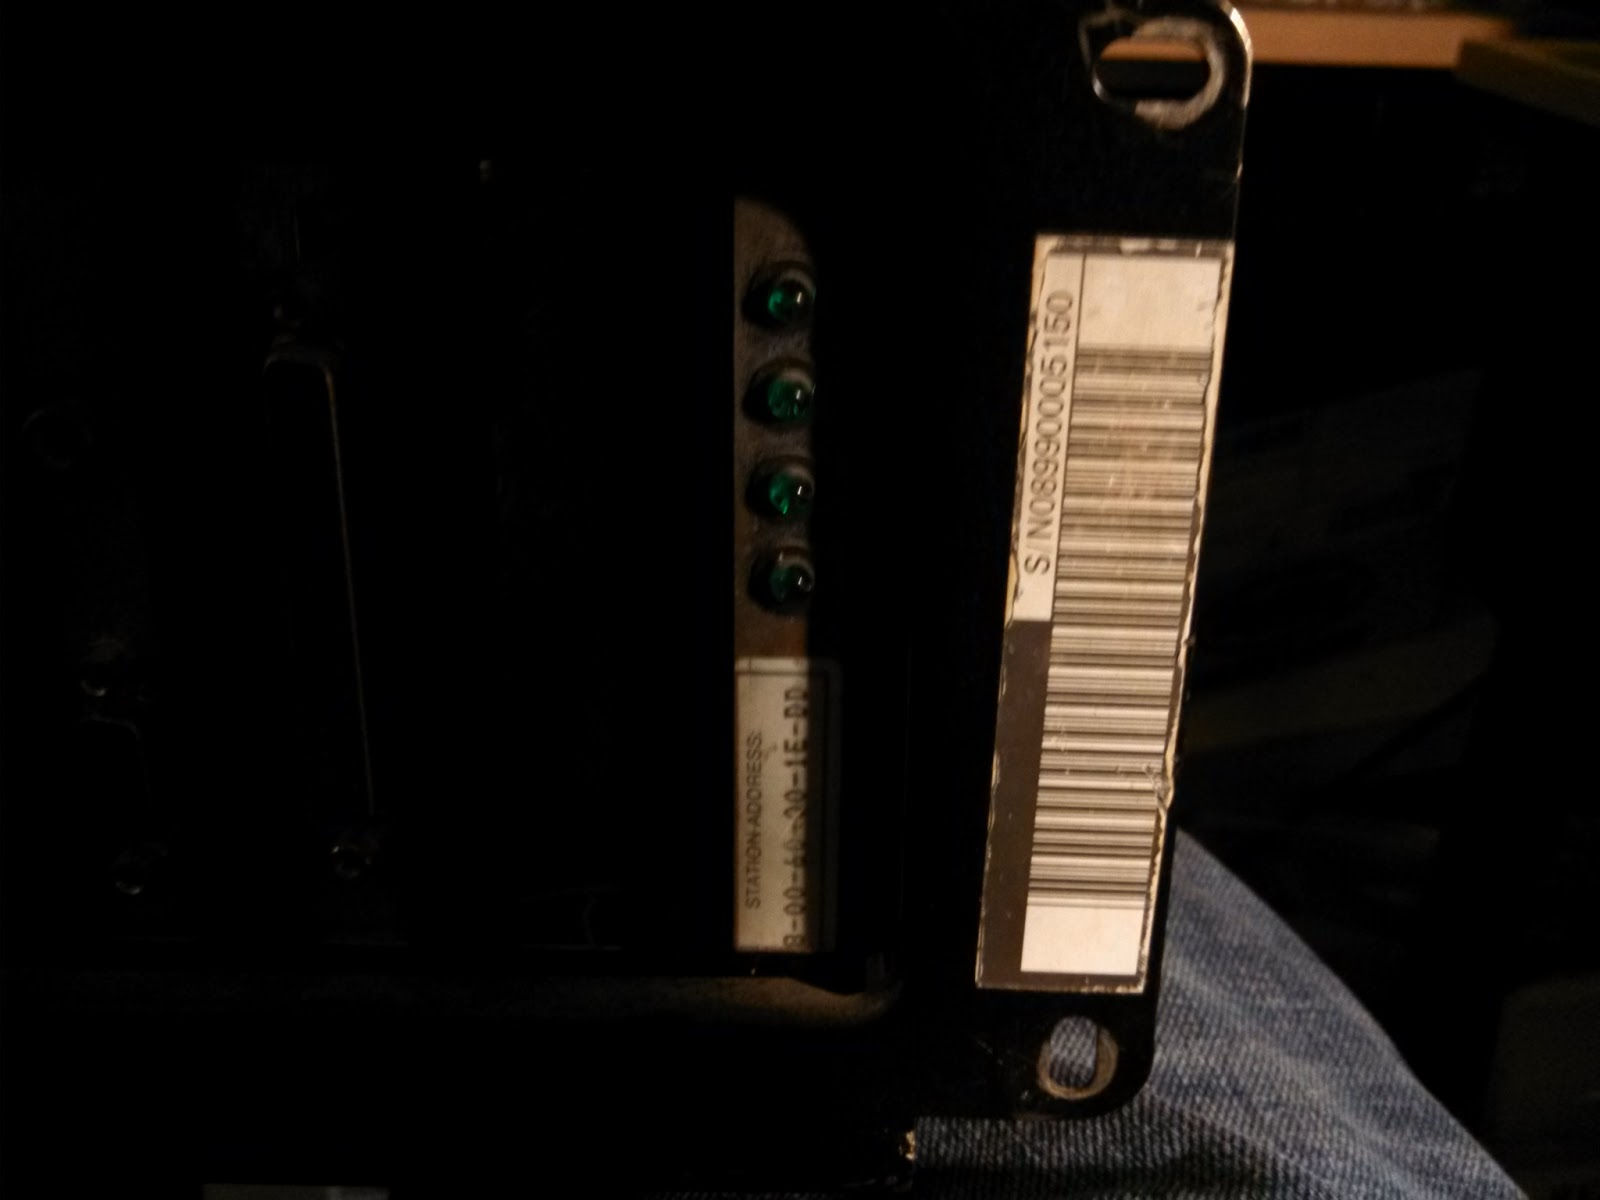
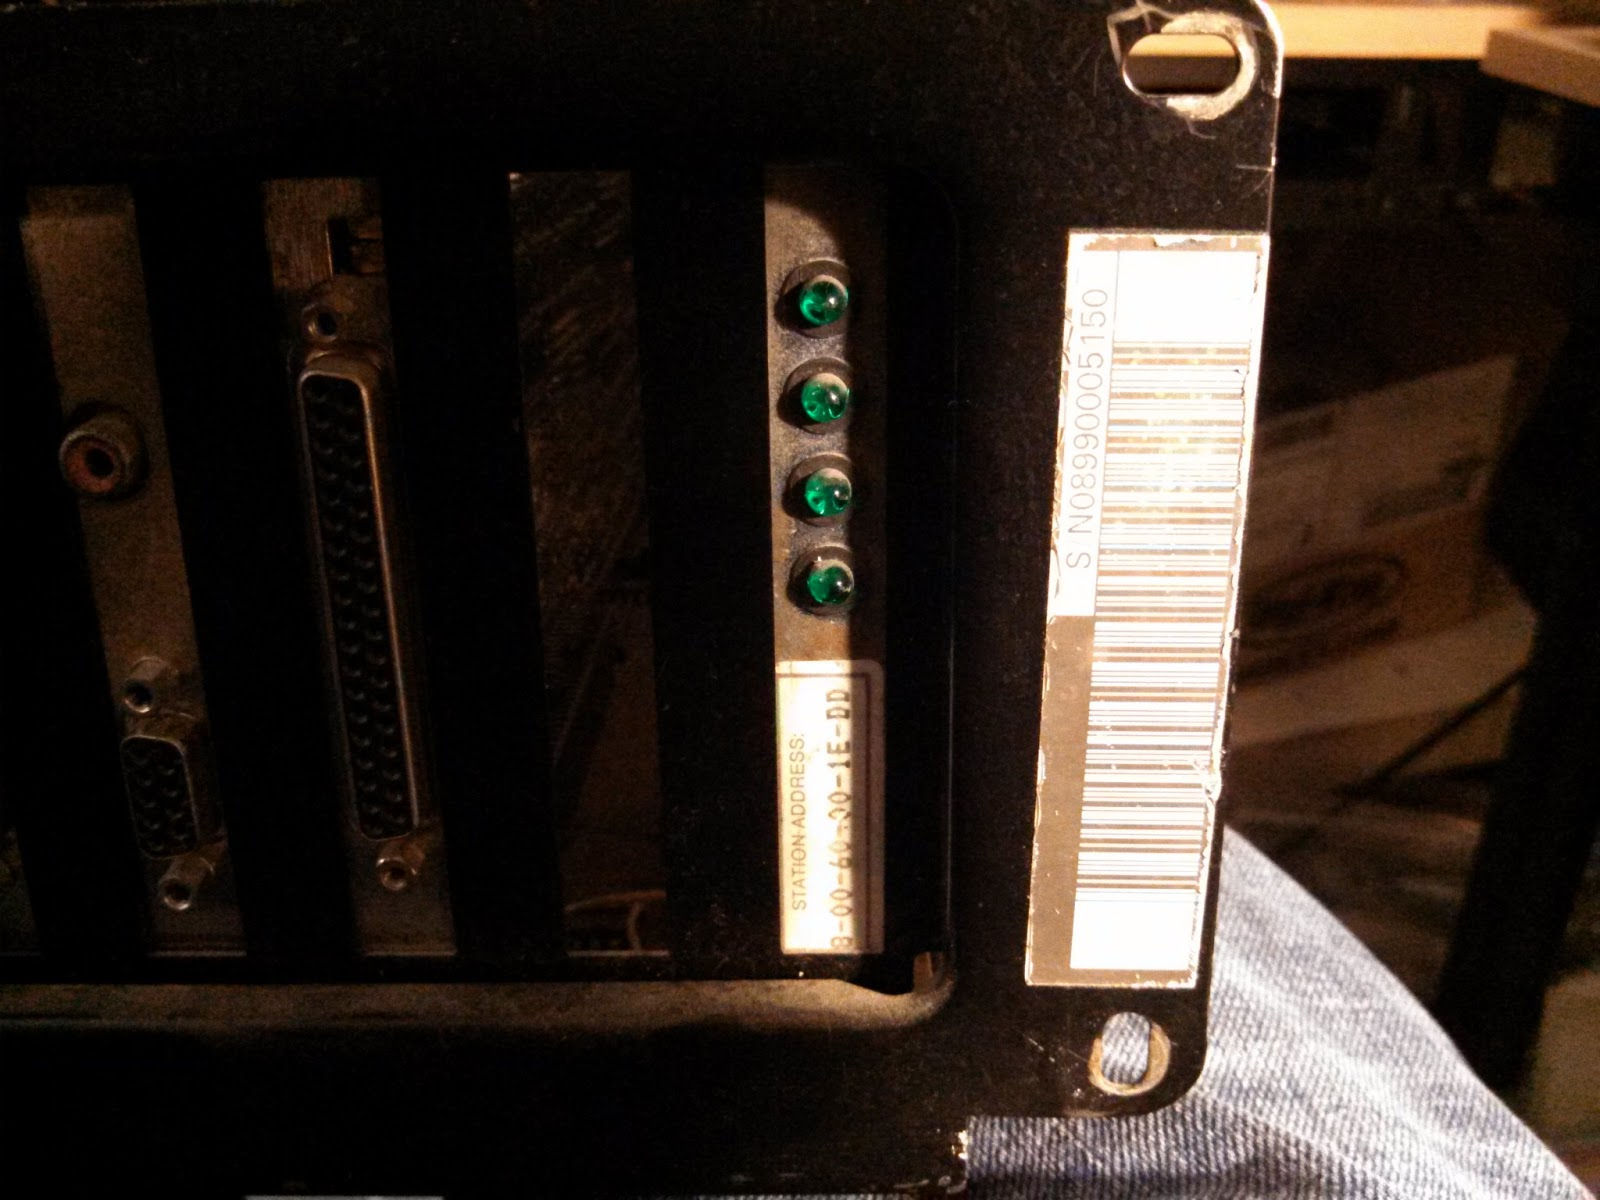
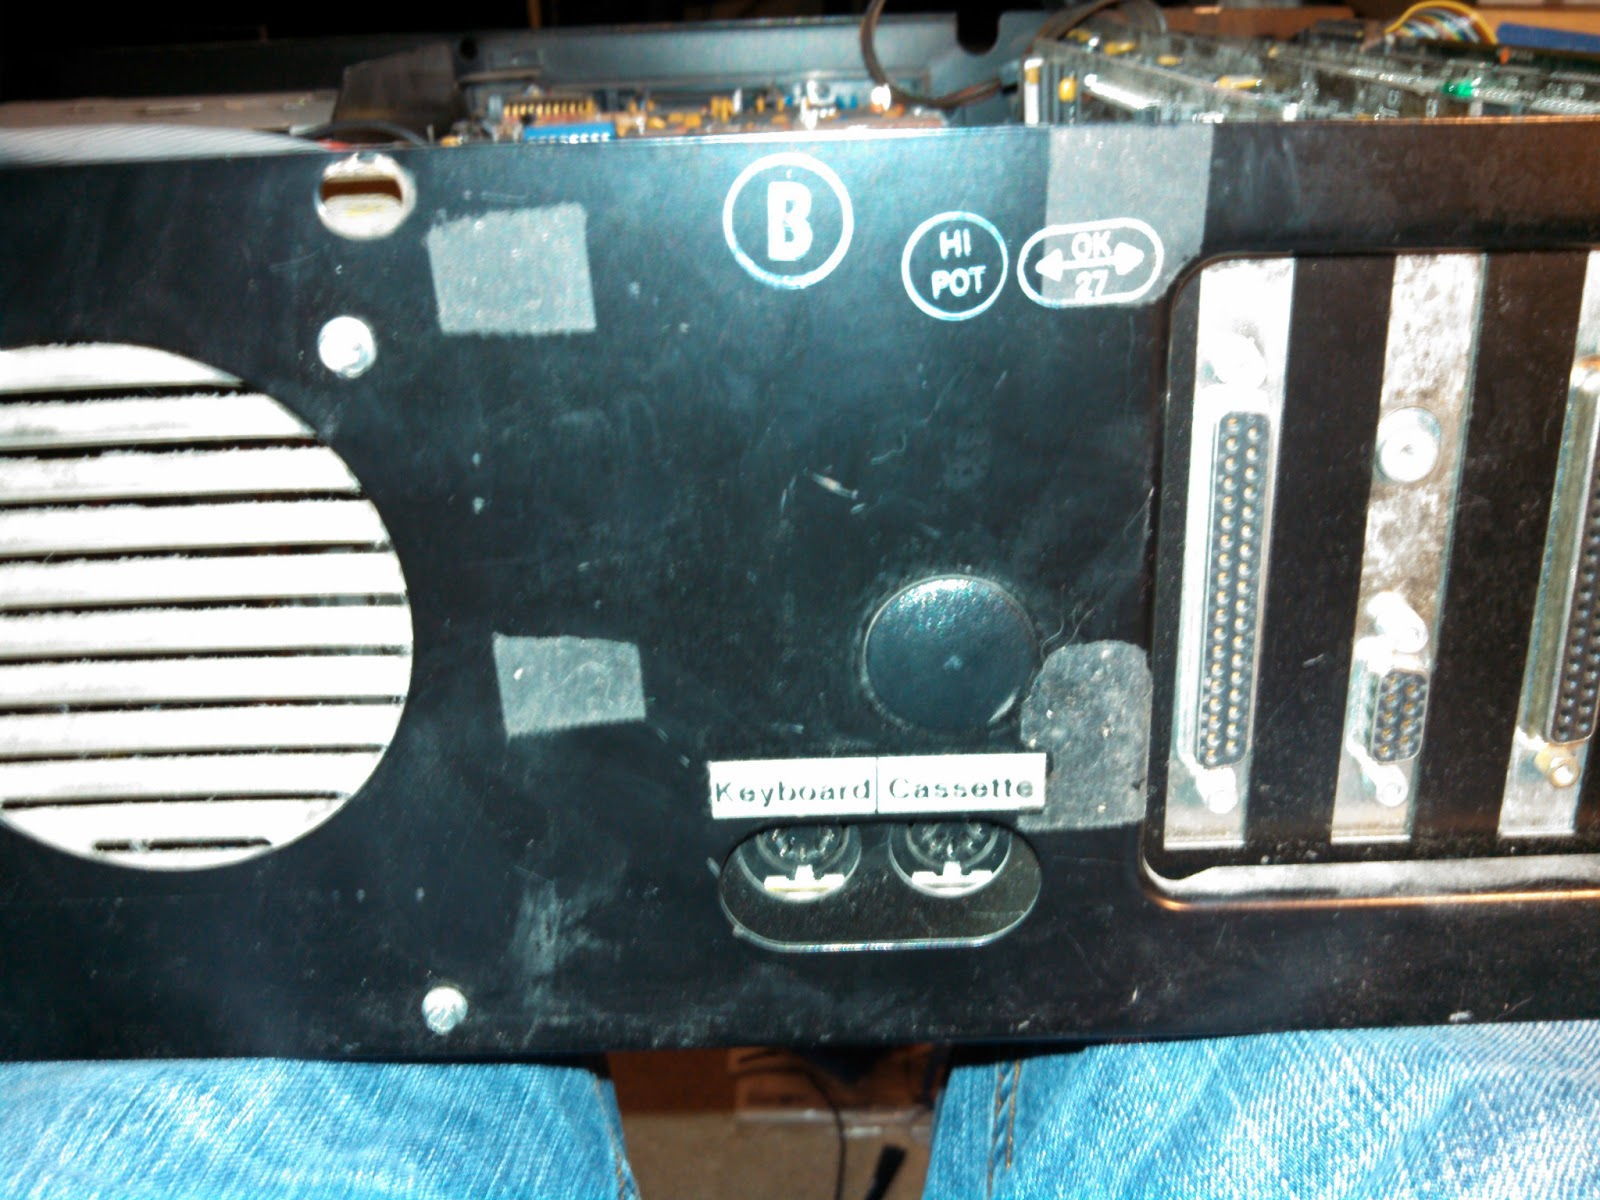
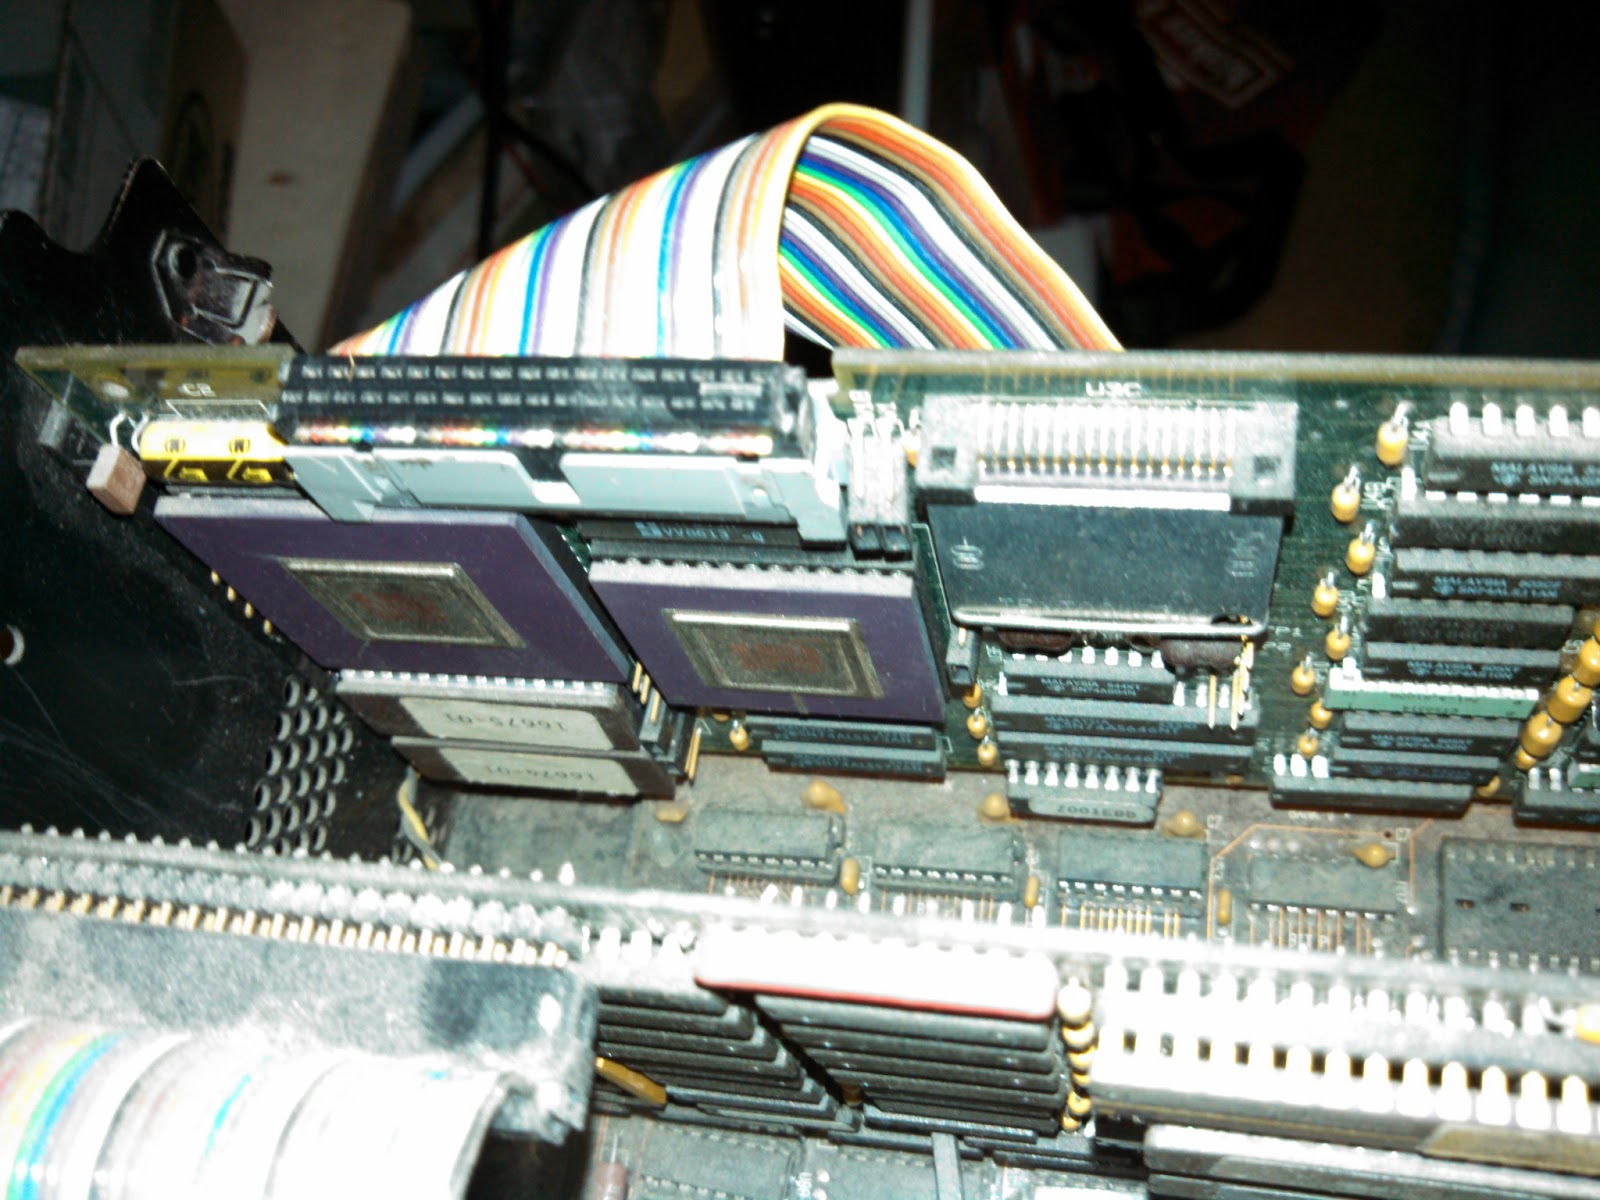
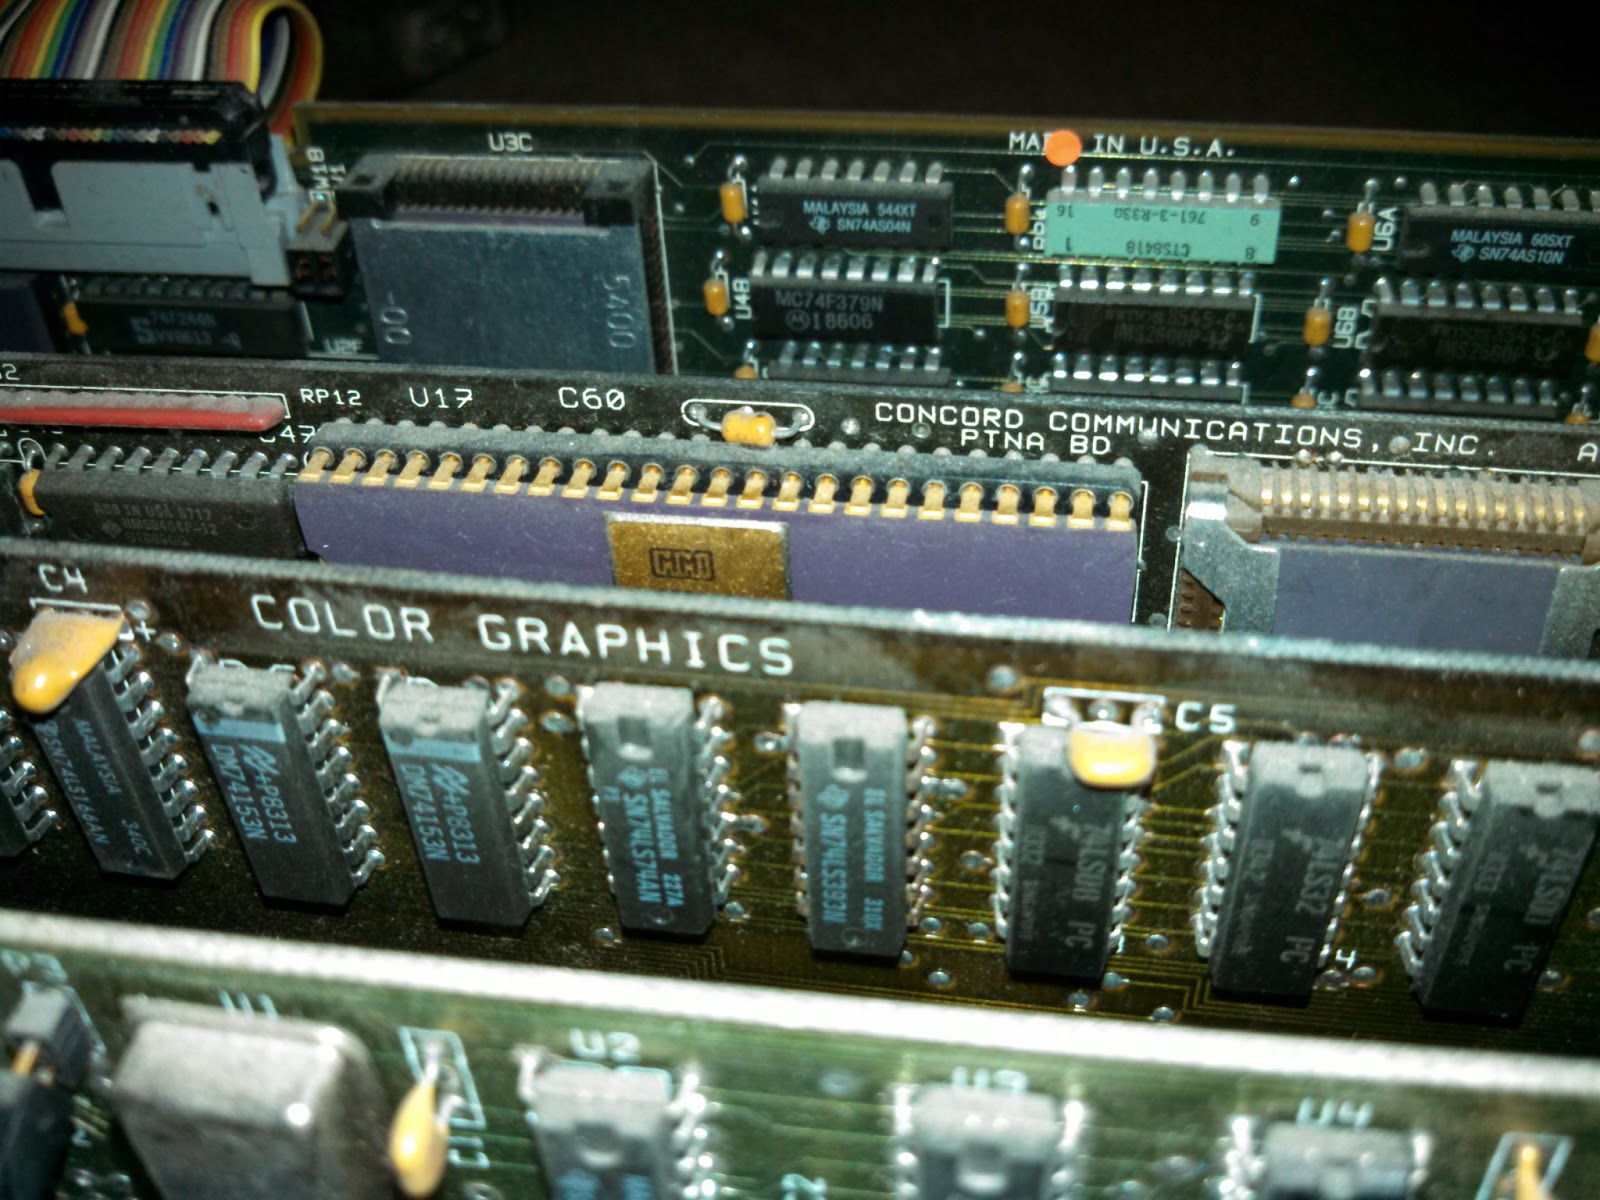
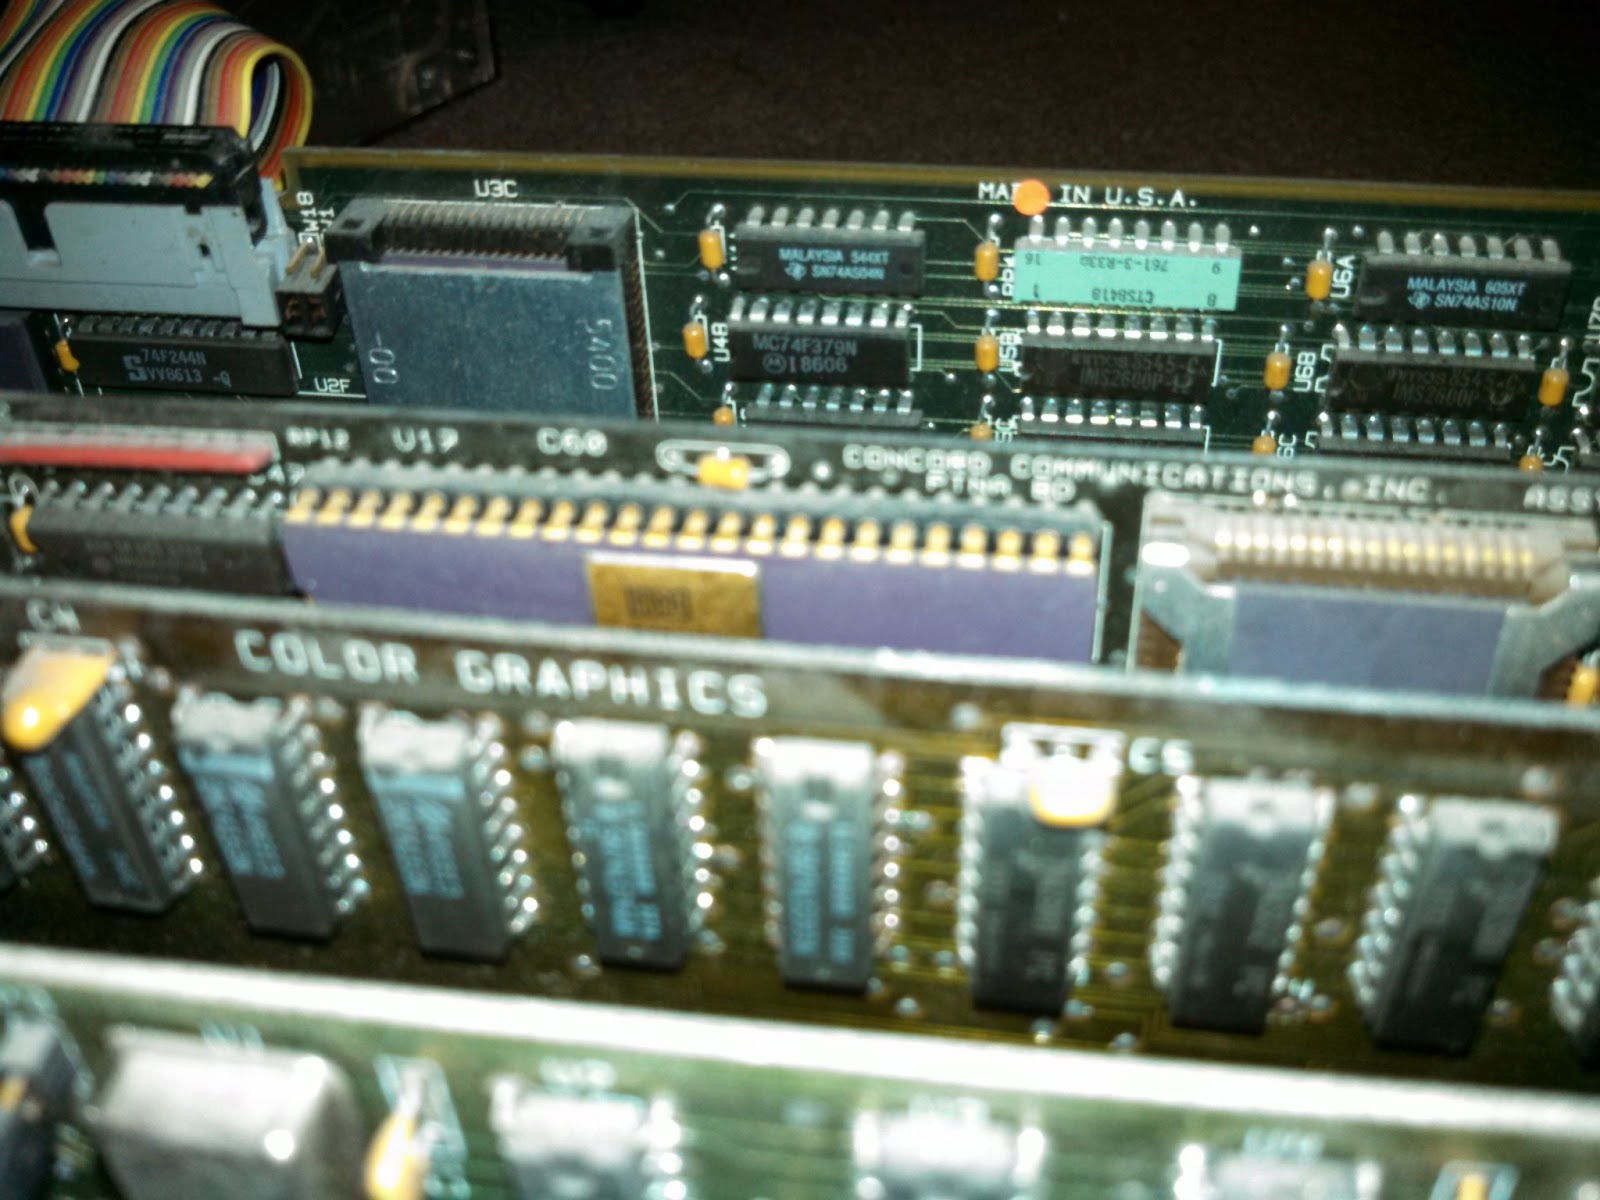
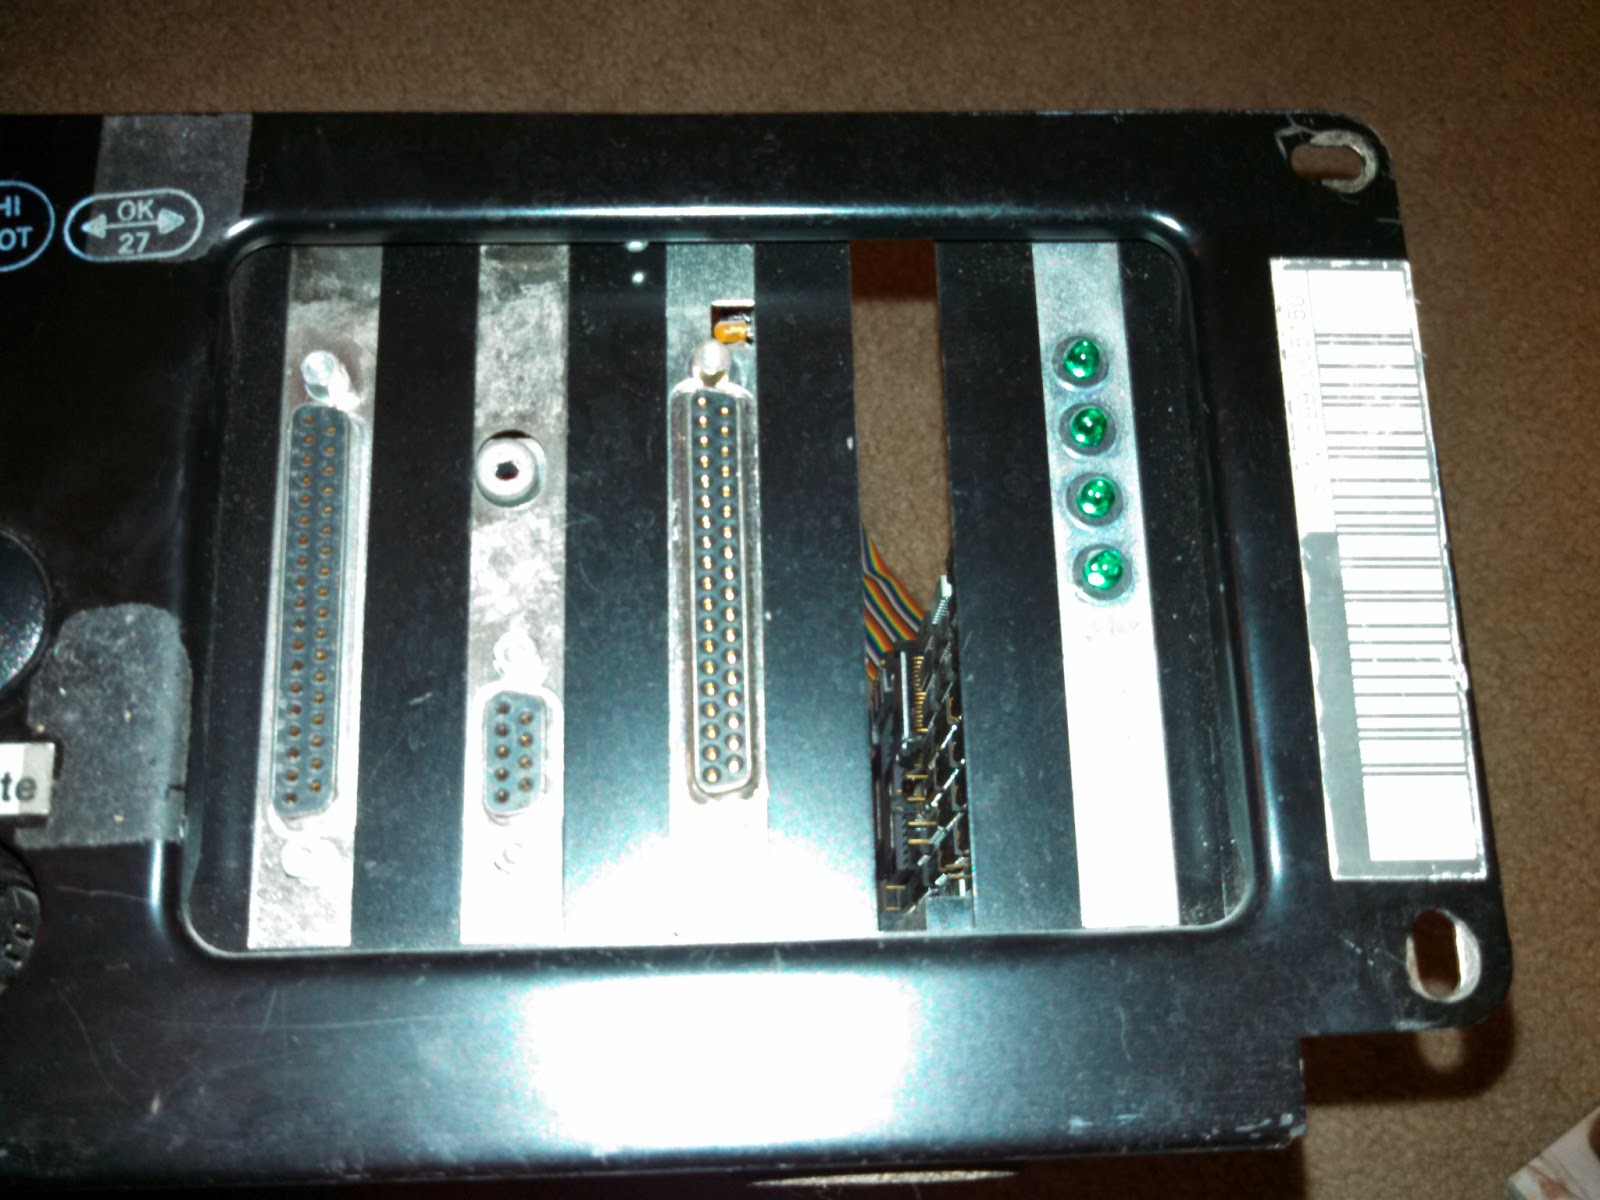
This is an IBM 5150 my boss was going to throw away. It works - and even boots faster than my phone! A DOS 2.0 floppy (5 1/4") is in the boot drive.
I am located in central NJ, you are welcome to pick up or pay shipping.
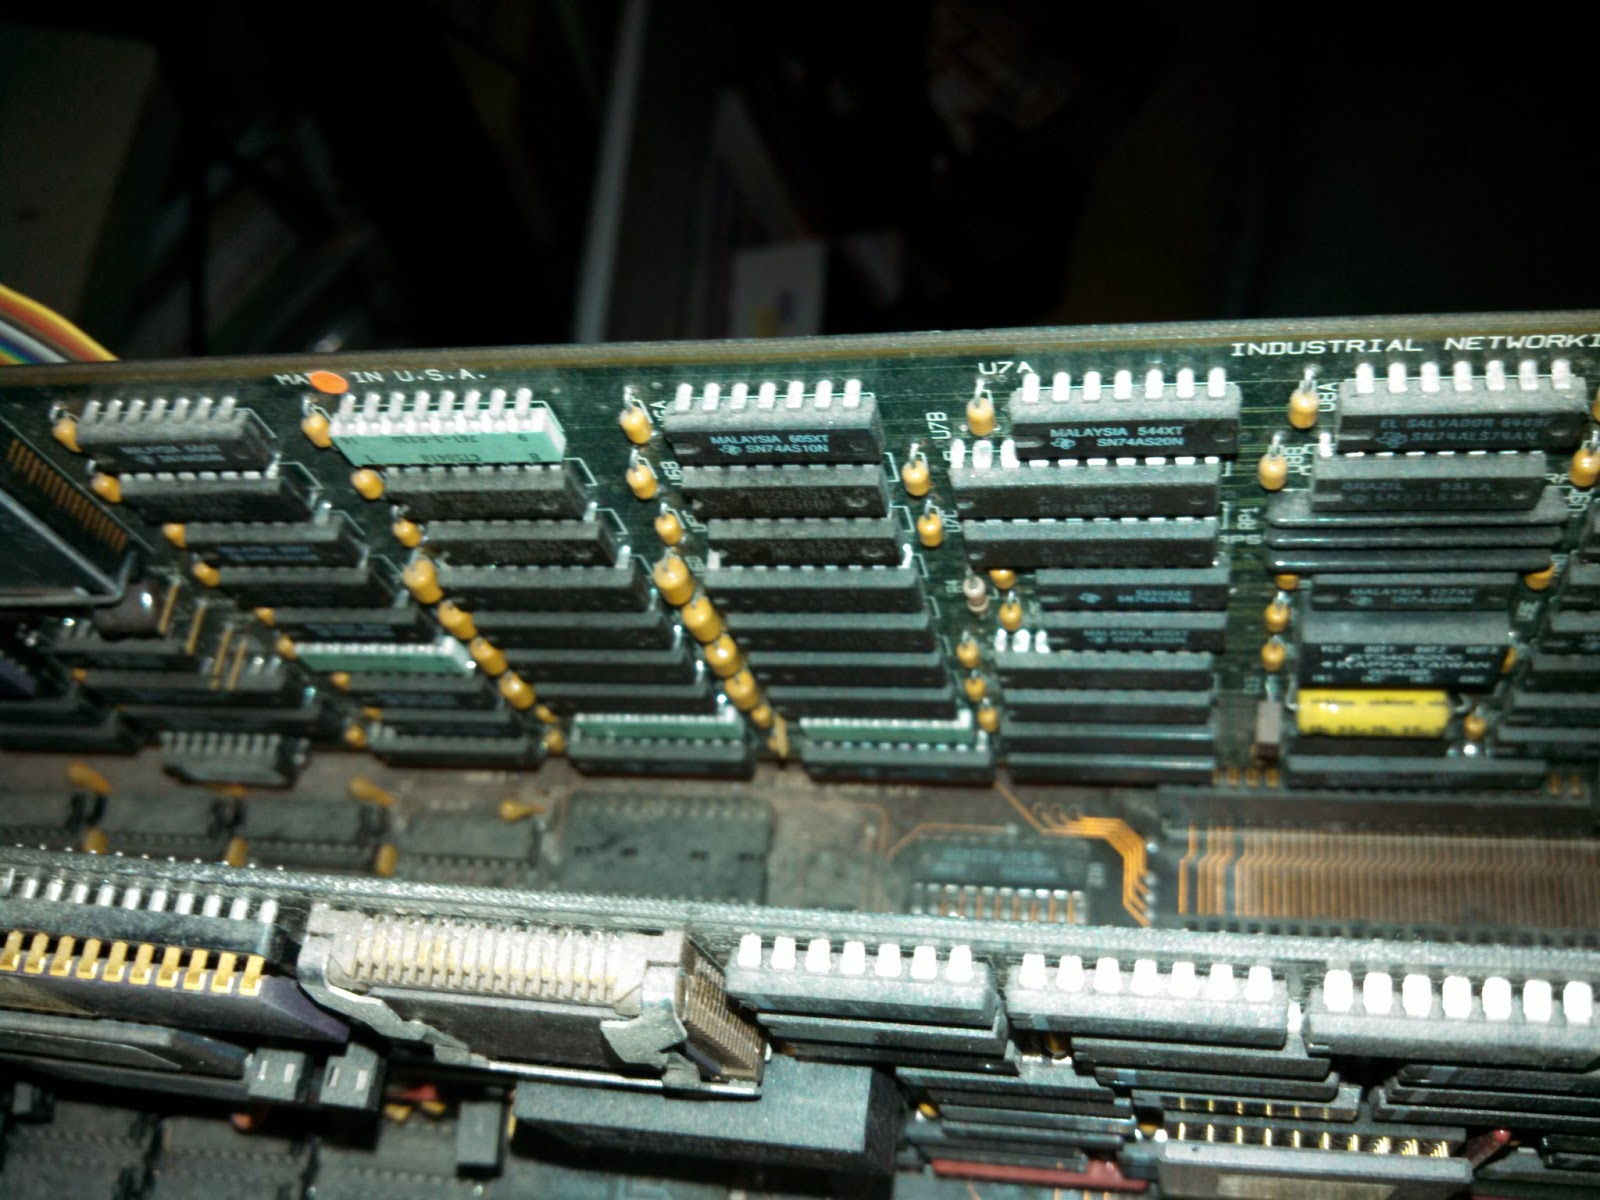
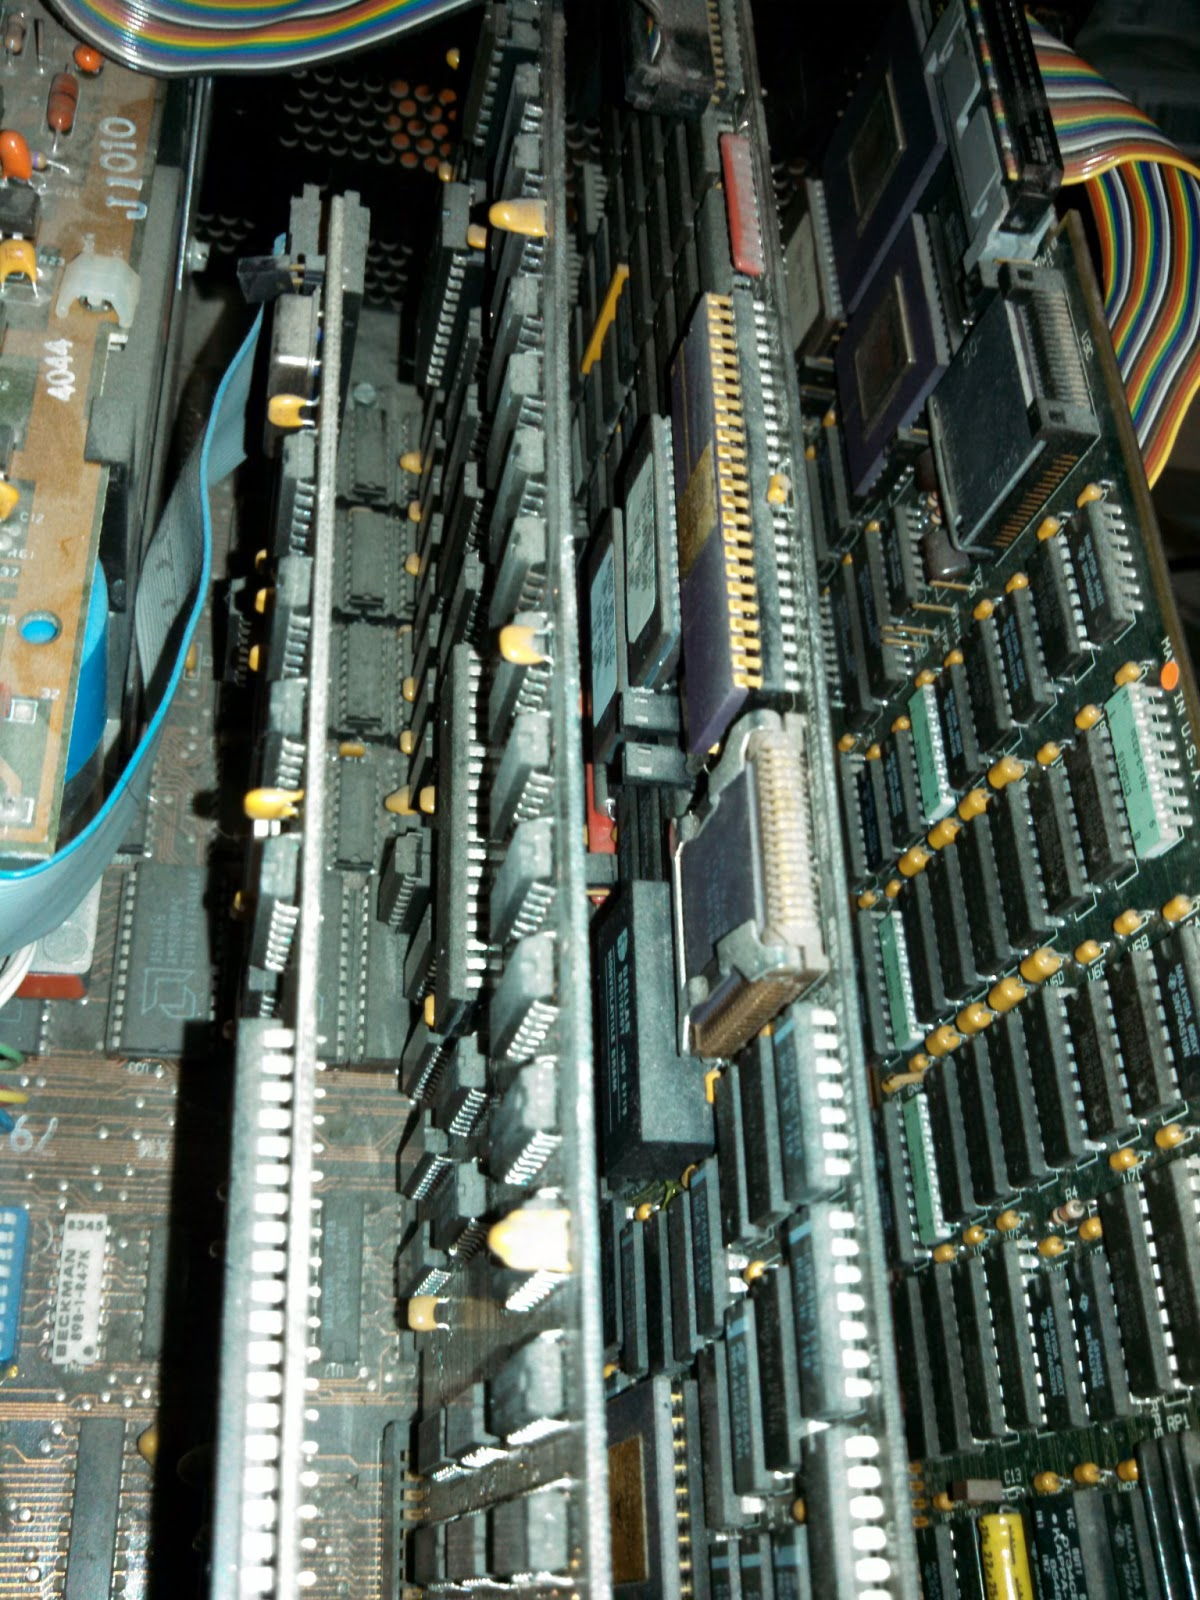
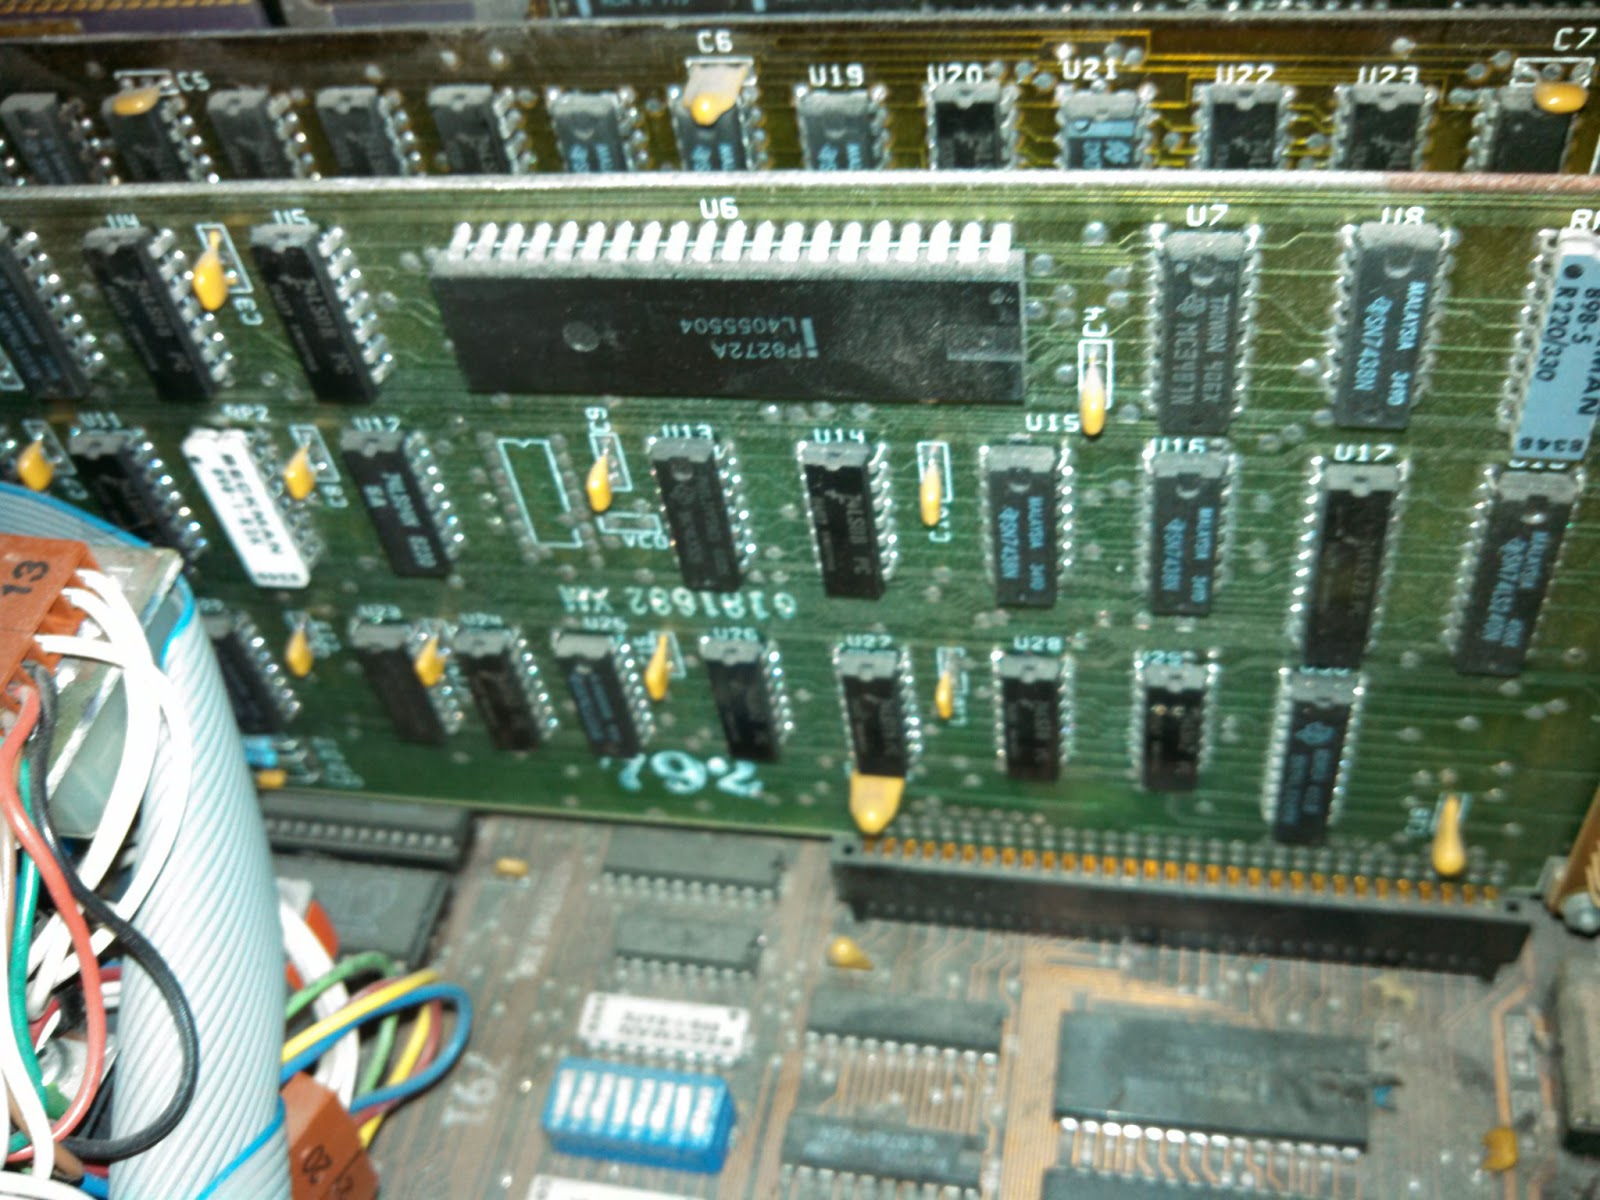

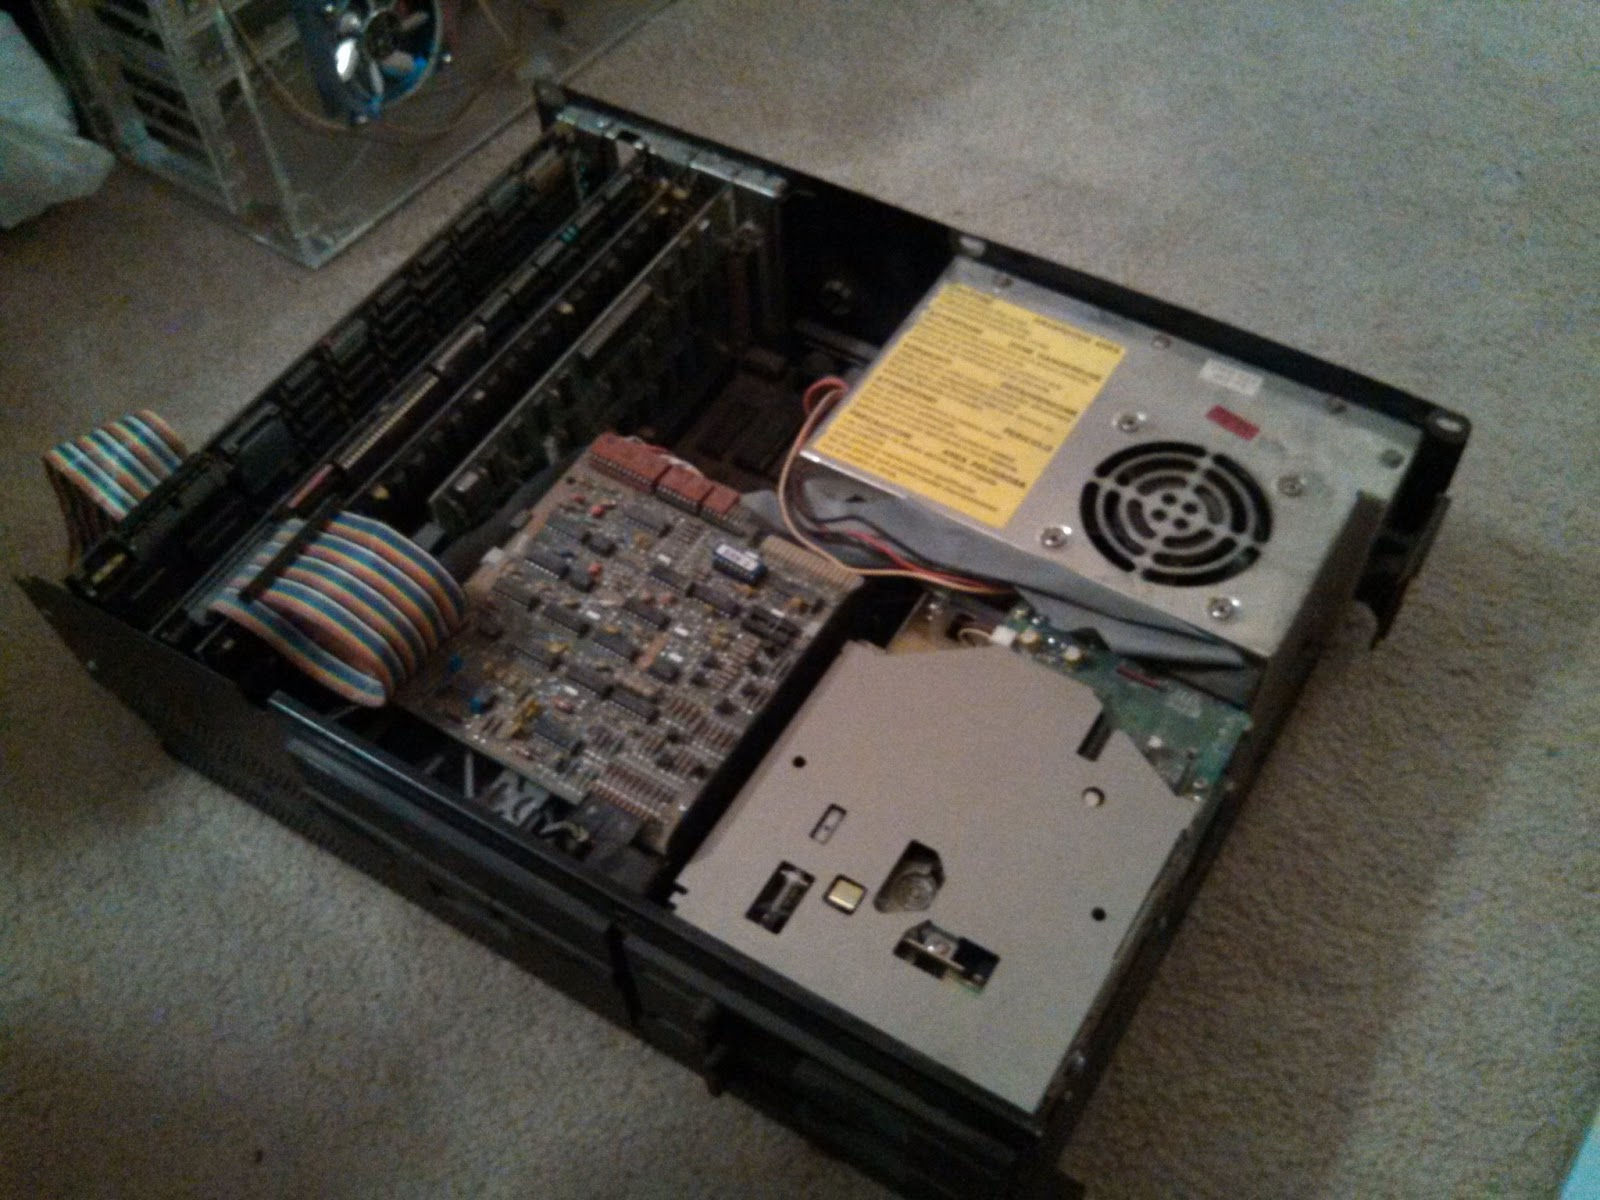
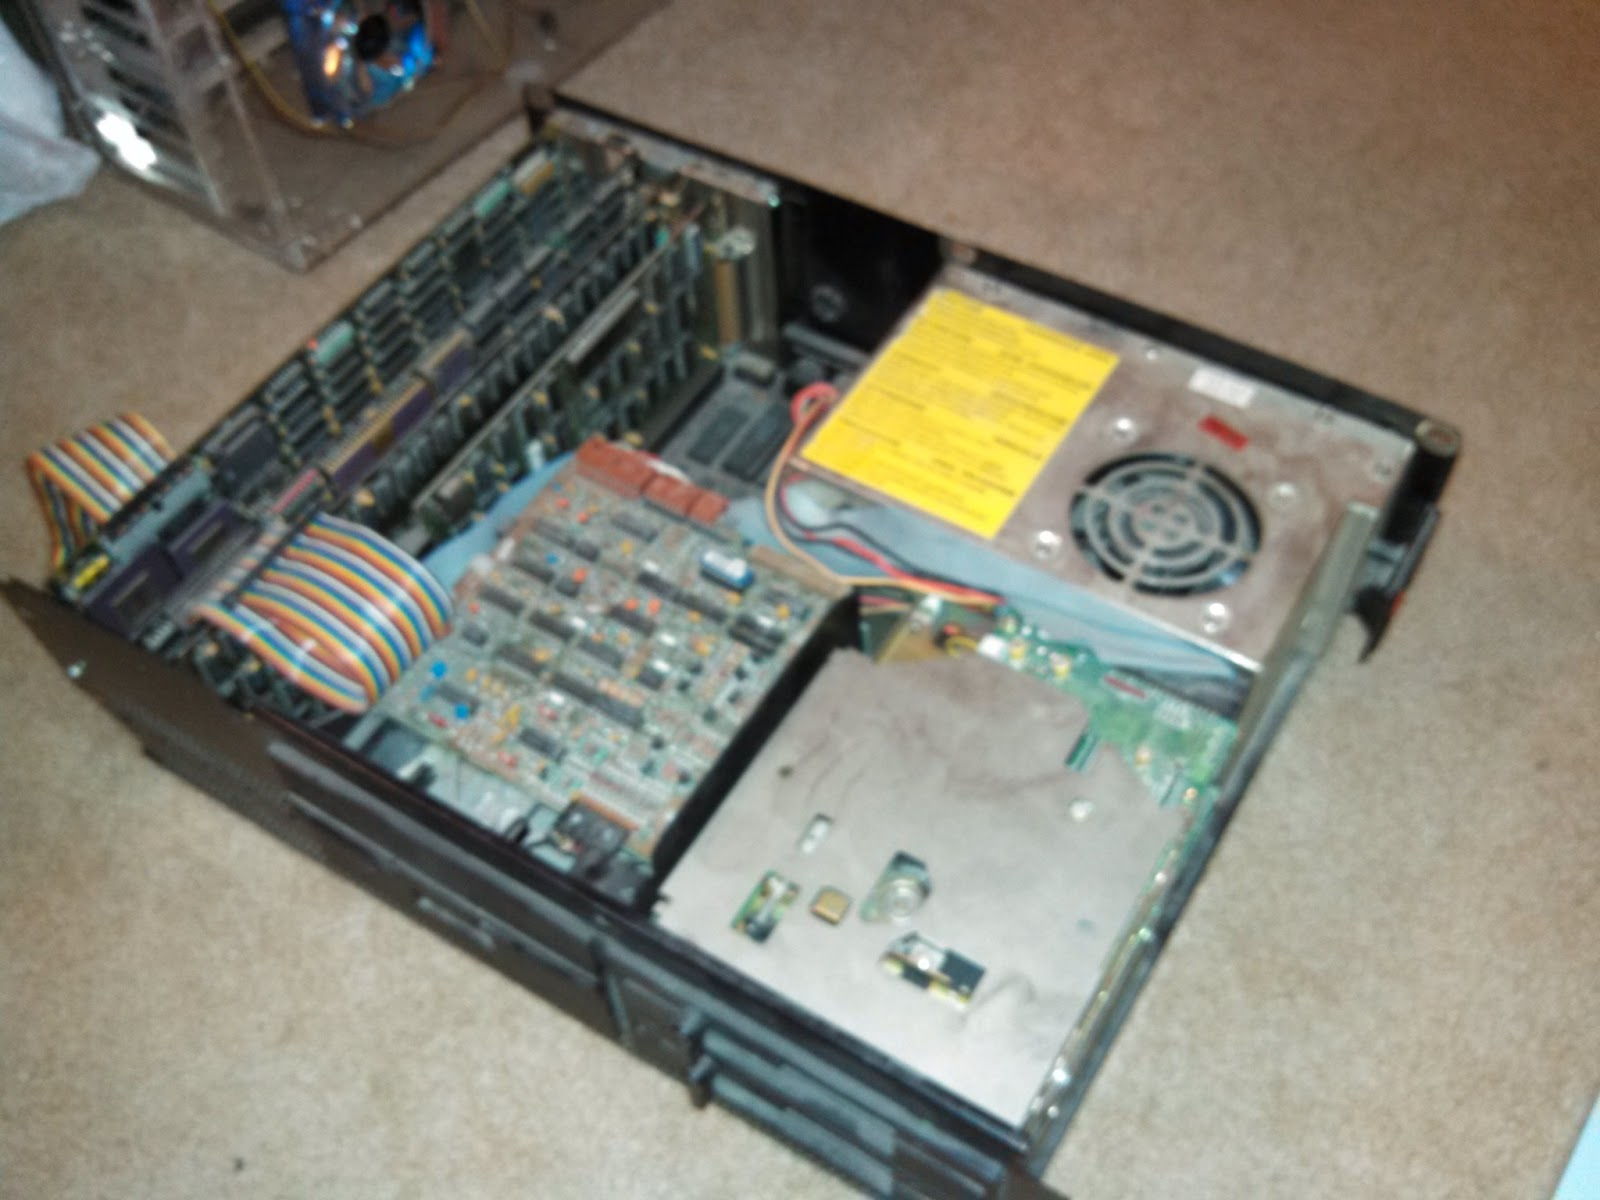
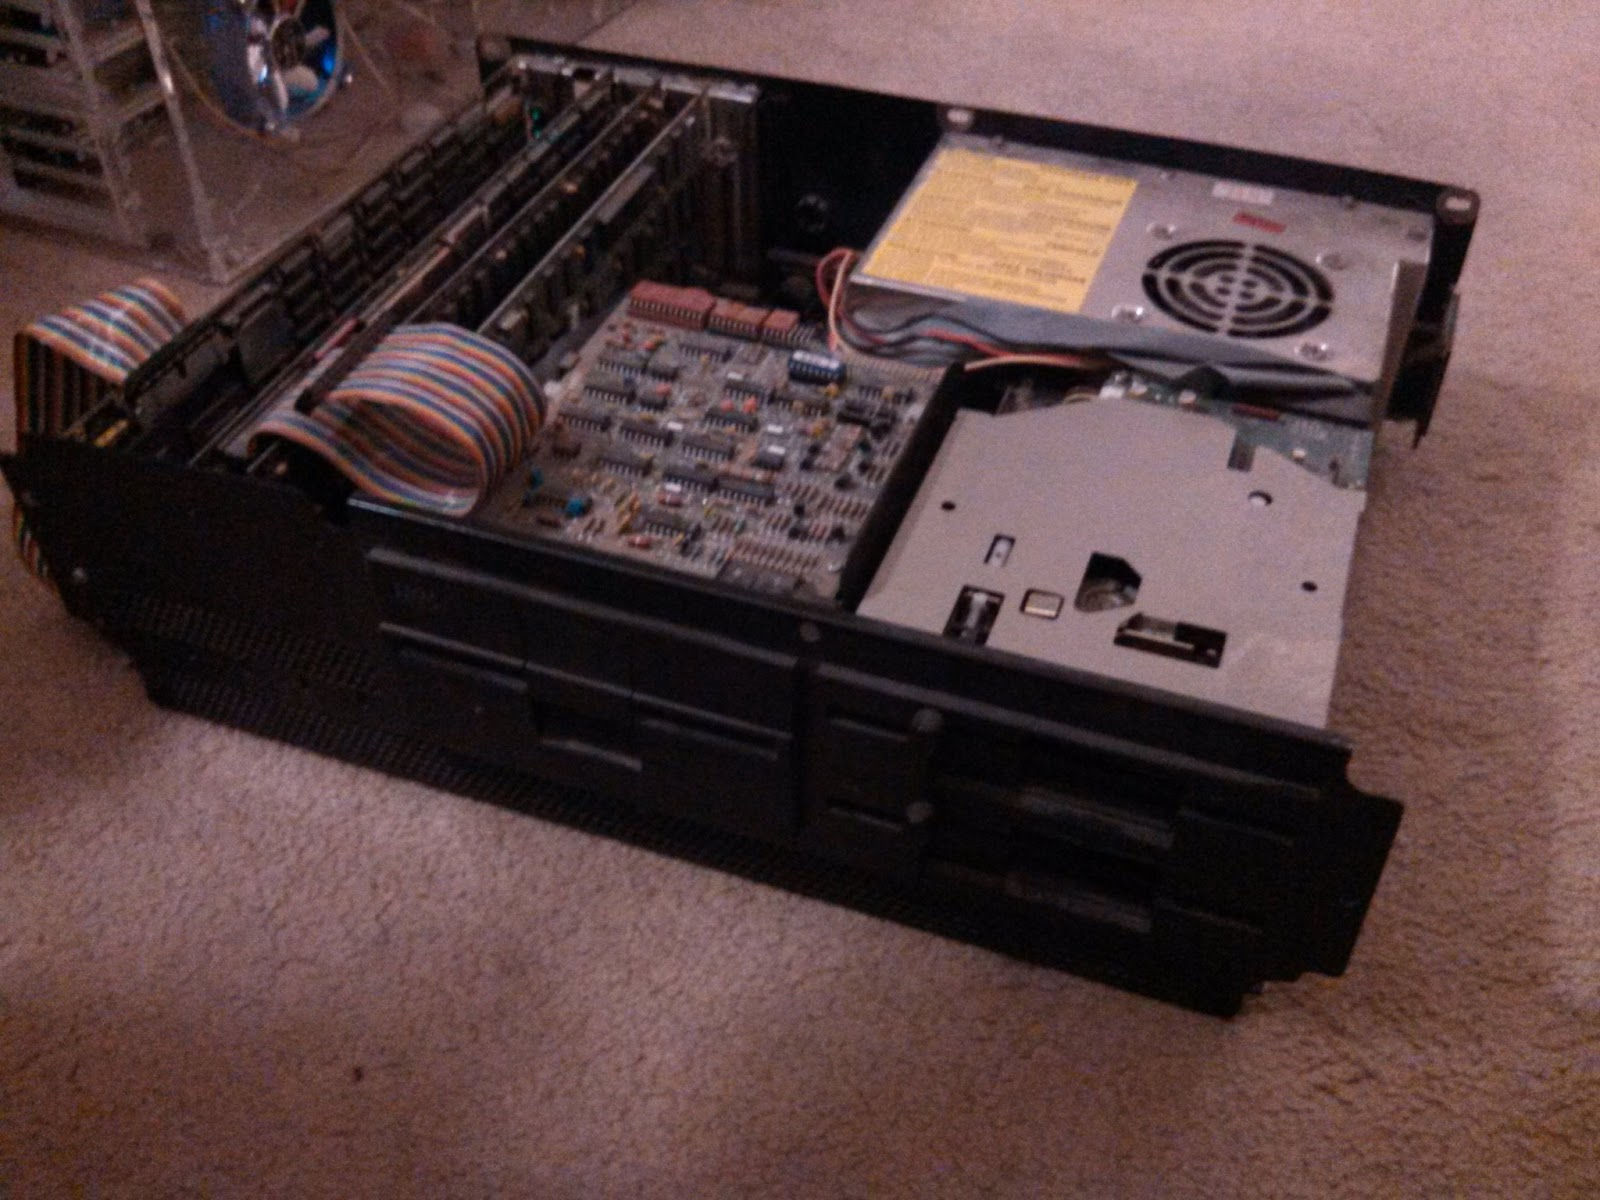
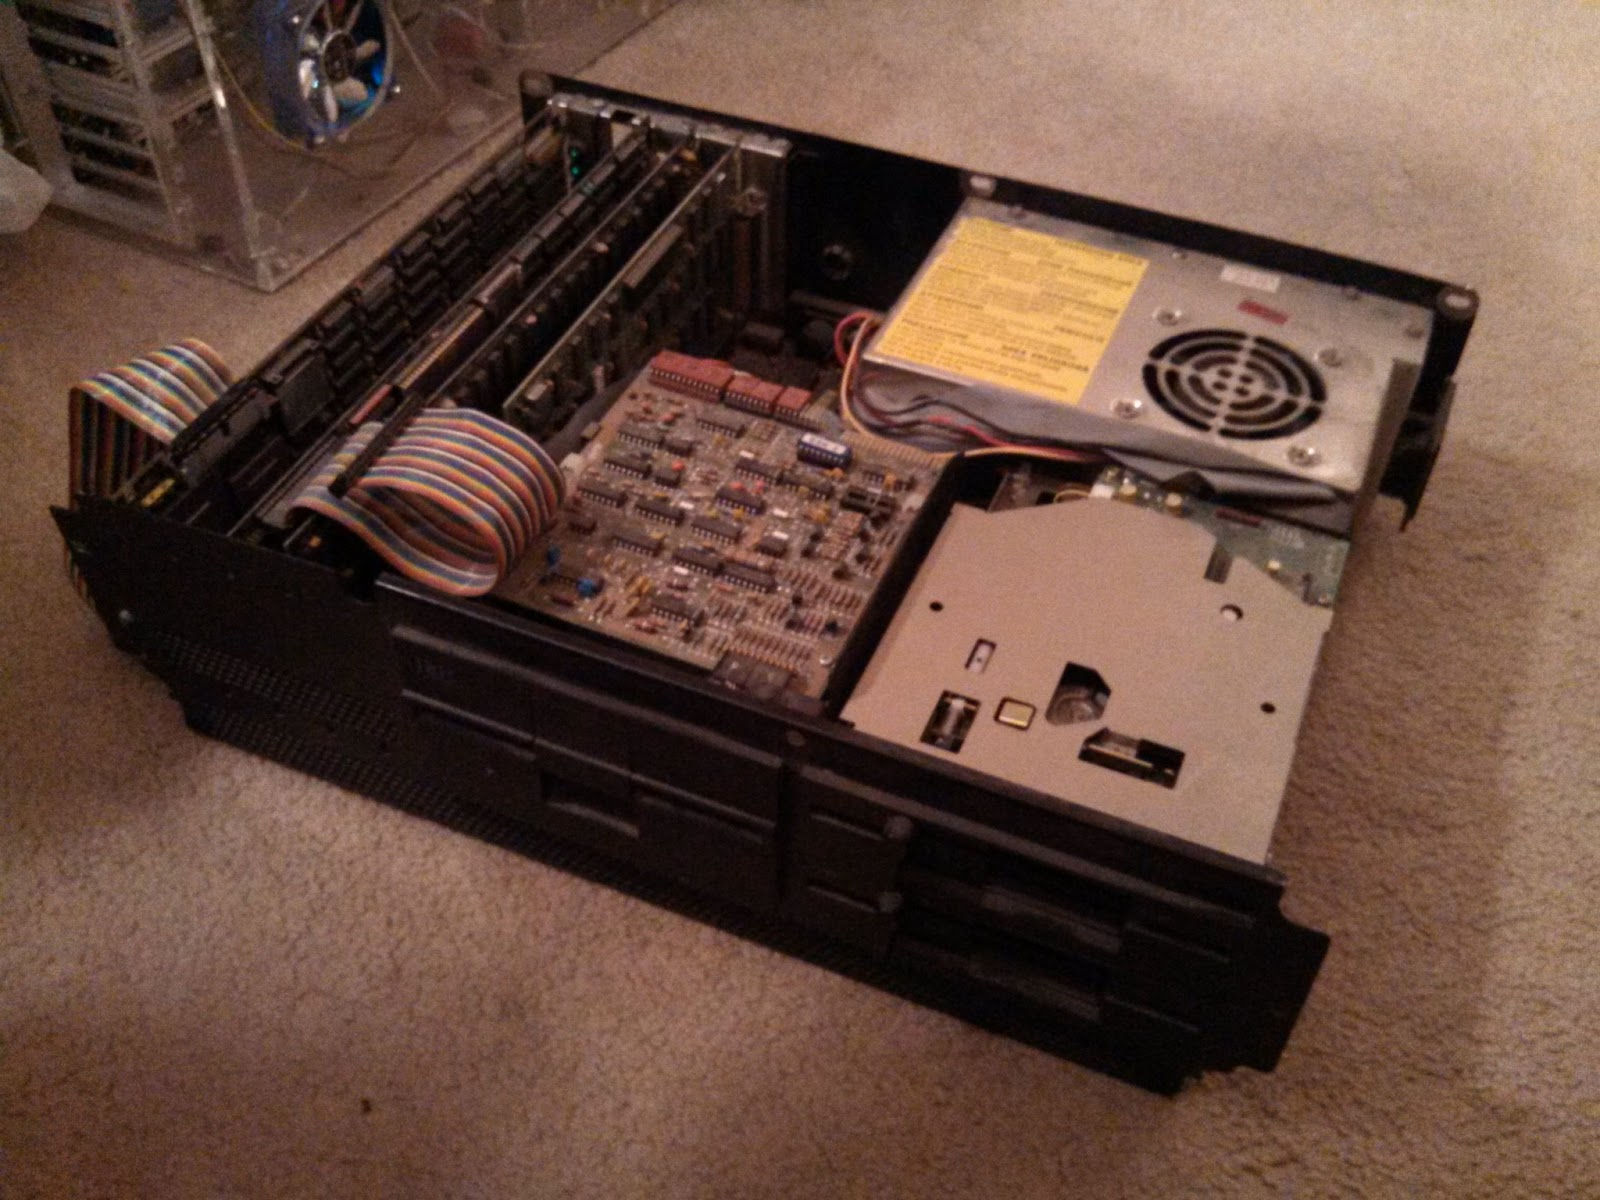
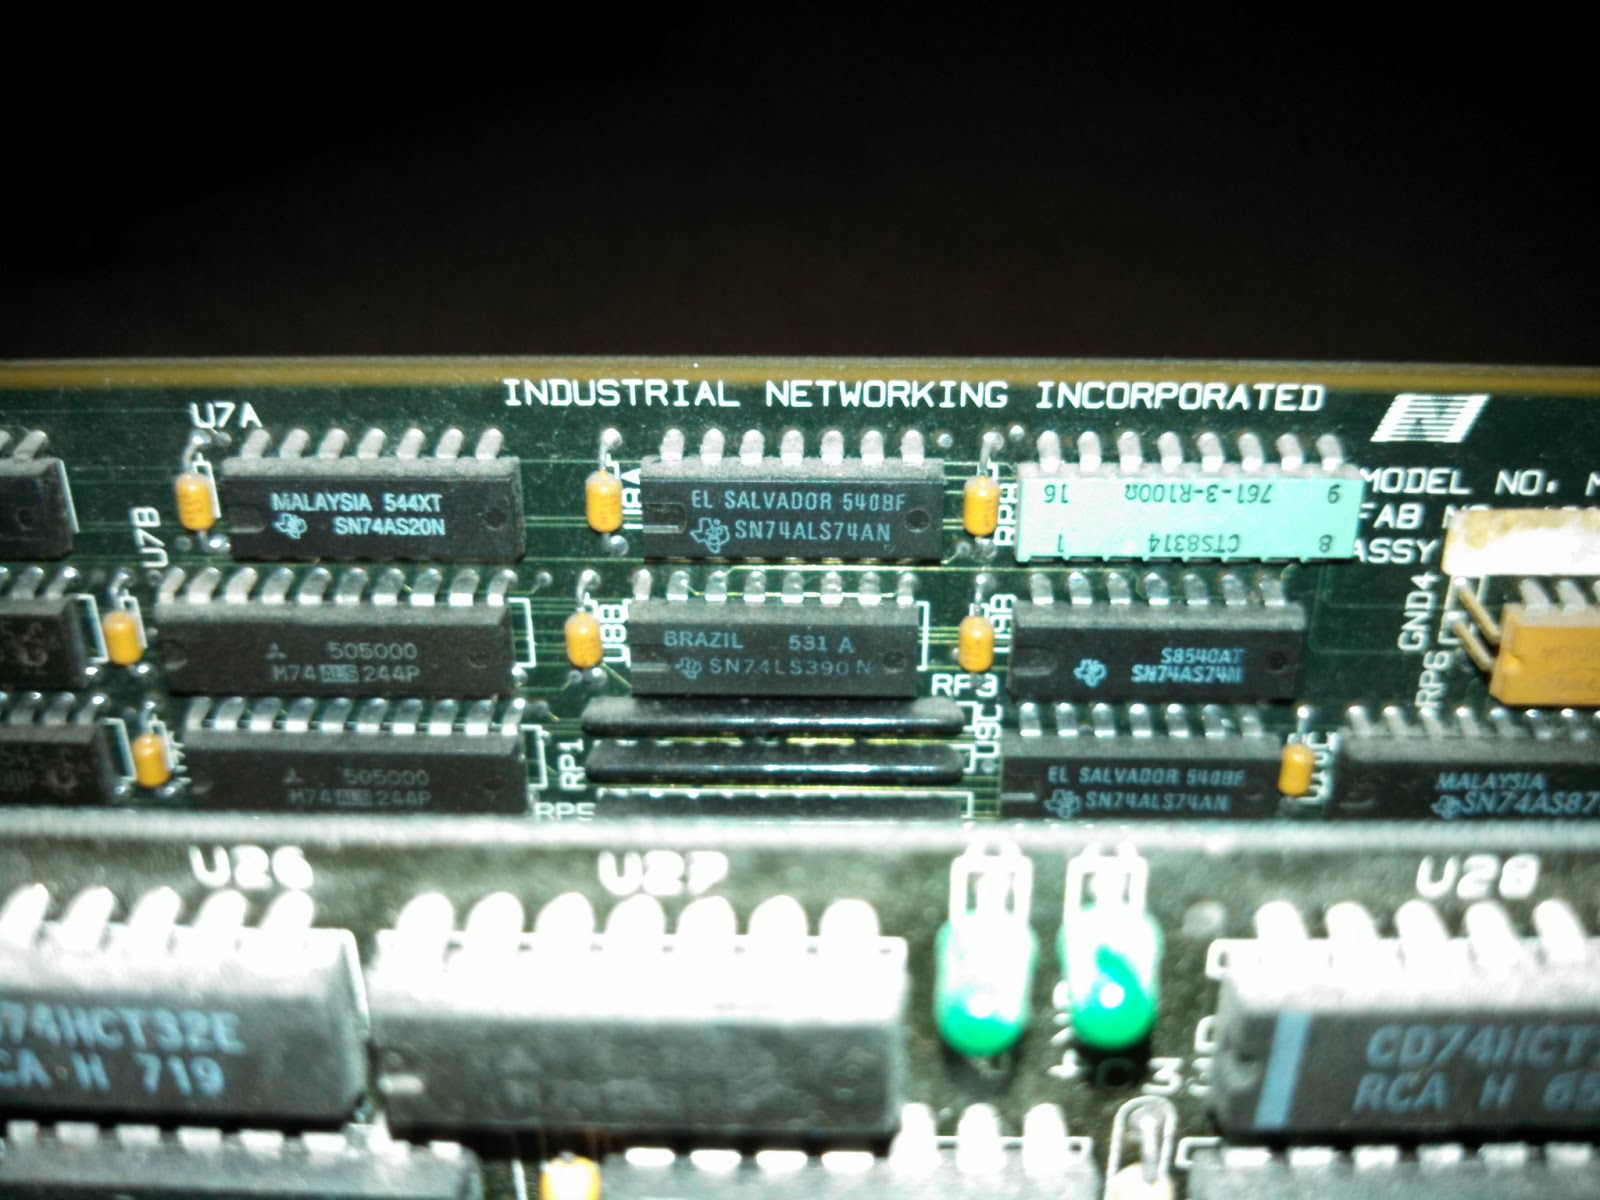
-
In Support of .Net on Embedded Systems posted on 29 Dec 2012
I am going to address some of the hostility towards .Net on embedded systems - known as the .Net Micro framework, or NetMF.
Let's take a quick look at the benefits of .Net:
- Better developer productivity
- Visual Studio & plugins
- Strong debugging environment
- Huge FOSS code ecosystem
The costs:
- Loss of deterministic real time behavior
- RAM
- Flash
Judging by this quick cost-benefit analysis, NetMF doesn't make sense in an environment where hard real time is an absolute requirement. Other than that, RAM and flash are cheap. In many cases, there is a 2 to 4 dollar difference between non-NetMF capable processors and those that are. Seems like a no-brainer for any quick-turn, low quantity shop.
Let's take a look at some basic code to toggle a pin in C:
#include <mfr_library.h>

int main (void)
{
    LED_TRIS_BIT = PIN_OUTPUT;

    while(1)
    {
        LED ^= 1;
    }
}
And in NetMF:
using System;
using Microsoft.SPOT;
using Microsoft.SPOT.Hardware;

namespace PinToggling
{
    public class Program
    {
        public static void Main()
        {
            OutputPort port = new OutputPort(Cpu.Pin.GPIO_Pin1, false);
            bool value = false;

            while (true)
            {
                port.Write(value);
                value ^= true;
            }
        }
    }
}
Ignoring the header file(s) for the C code, this example shows a nearly 2x increase in the number of lines required.
Now for something that should also be pretty easy, toggling an LED every second:
#include <mfr_library.h>

byte _1ms_tick;

INTERRUPT_HANDLER OneMillisecondTick (void)
{
    _1ms_tick = 1;
}

void WaitOneSecond (void)
{
    unsigned short counter;
    for(counter = 0; counter < 1000; counter++)
    {
        while(!_1ms_tick)
            NOP();
        _1ms_tick = 0;
    }
}

int main (void)
{
    Configure_Interrupt();
    LED_TRIS_BIT = PIN_OUTPUT;

    while(1)
    {
        LED = !LED;
        WaitOneSecond();
    }
}
And in NetMF:
using System;
using System.Threading;
using Microsoft.SPOT;
using Microsoft.SPOT.Hardware;

namespace PinToggling
{
    public class Program
    {
        public static void Main()
        {
            OutputPort port = new OutputPort(Cpu.Pin.GPIO_Pin1, false);
            bool value = false;

            while (true)
            {
                Thread.Sleep(1000);
                port.Write(value);
                value ^= true;
            }
        }
    }
}
And here's where the benefits of C# start to become apparent. Adding a delay only took one extra line, whereas it took 20 in C. Here, a user would have to know how interrupts work on a specific processor. They would also have to know how the compiler has defined the various numeric types. Is it byte, BYTE, uint8, char, or something different? C# doesn't hide all of this complexity, but it does standardize it. Need eight unsigned bits? Use an unsigned byte, easy. Need 32 signed bits? Use an int. Again, easy.
Less memorization for the developer means maintainable code, written sooner, and with fewer bugs. That is why embedded systems should be developed on the .Net Micro Framework.
-
ASP.Net Newbie Protip posted on 26 Dec 2012
When building ASP.NET projects and hosting with local IIS, don't play with the build output path in Visual Studio. The issue here is that IIS Express loads libraries from the bin\ directory. Change that to something like bin\Release\, and the running code is no longer updated when Visual Studio builds.
A simple gotcha, but it may take a little coffee to get past if you haven't experienced it before.
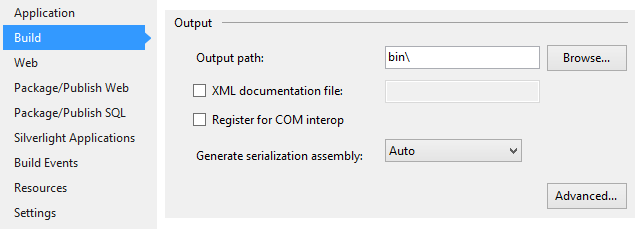
PS: I dug around in an attempt to find a setting related to this path, but was unable to. Apologies!
-
Journal: Database is Finally Working and Enabling Sessions. posted on 16 Dec 2012
Finally, I can write some code. First things first, though, here's what I had to do to get to this point.
I am running on a fairly fresh Windows 8 virtual machine with VS2012.
Installed EF5, Nancy, and Nancy.Hosting.Aspnet from NuGet.
Added this to web.config
<connectionStrings>
  <add name="QAContext"
    providerName="System.Data.SqlClient"
    connectionString="Server=(LocalDB)\v11.0; Integrated Security=True; MultipleActiveResultSets=True"/>
</connectionStrings>
If memory serves, that's all it took. My sample code looks something like this
using (var db = new QAContext())
{
    var user = new User();
    user.Name = userName;
    db.Users.Add(user);
    db.SaveChanges();
}
And it runs! I can query db with LINQ (though I am not very skilled with LINQ), and view the database in the Server Explorer window.
Now, I'm going to enable cookie based sessions. To do this, I'll subclass DefaultNancyBootstrapper and override the ApplicationStartup method.
public class Bootstrapper: DefaultNancyBootstrapper
{
    protected override void ApplicationStartup(TinyIoCContainer container,
                                               IPipelines pipelines)
    {
        CookieBasedSessions.Enable(pipelines);
    }
}
With sessions enabled, we can now put something like this in the constructor of a class that derives from NancyModule to test sessions.
Get["/sessiontest/{val}"] = parameters => {
    Session["test"] = parameters.val.ToString();
    return Session["test"].ToString();
};

Get["/sessiontest"] = parameters => Session["test"].ToString();
Now localhost/sessiontest/testtesttest will show "testtesttest" and http://localhost:15818/sessiontest will show the same.